I’ve been busy! The Master Vintner website has launched and we’re busy filling it up with great wine kits, great deals and lots of cool info about making your own wine–and having lots of fun with it. One of the things I’m pursuing is making a bunch of new videos, right here in Chaos Manor.
Before I started making new videos, I went back and reviewed the stuff I’d done before, some of which is on my YouTube channel, with more on Northern Brewer’s channel. Some of it has even been bootlegged by other people, and much to my surprise some of my videos have gotten hundreds of thousands of views–how does that even work?
I thought I’d curate a bunch of them so you could pick and choose right here if you wanted to have a look at what’s going on with home winemaking right now. If you like ’em, go ahead and subscribed to my channel and you’ll get updates when new stuff is uploaded.
Note that some of these videos are of me from previous employers: don’t worry, the information is still good and you can learn just as much.
It’s been over a month since I posted to this blog. In social media terms, I might as well have left on a voyage for the new world and been captured by Barbary pirates and written off for lost, mourned only by creditors and a disgruntled cat, forgotten by time and tide.
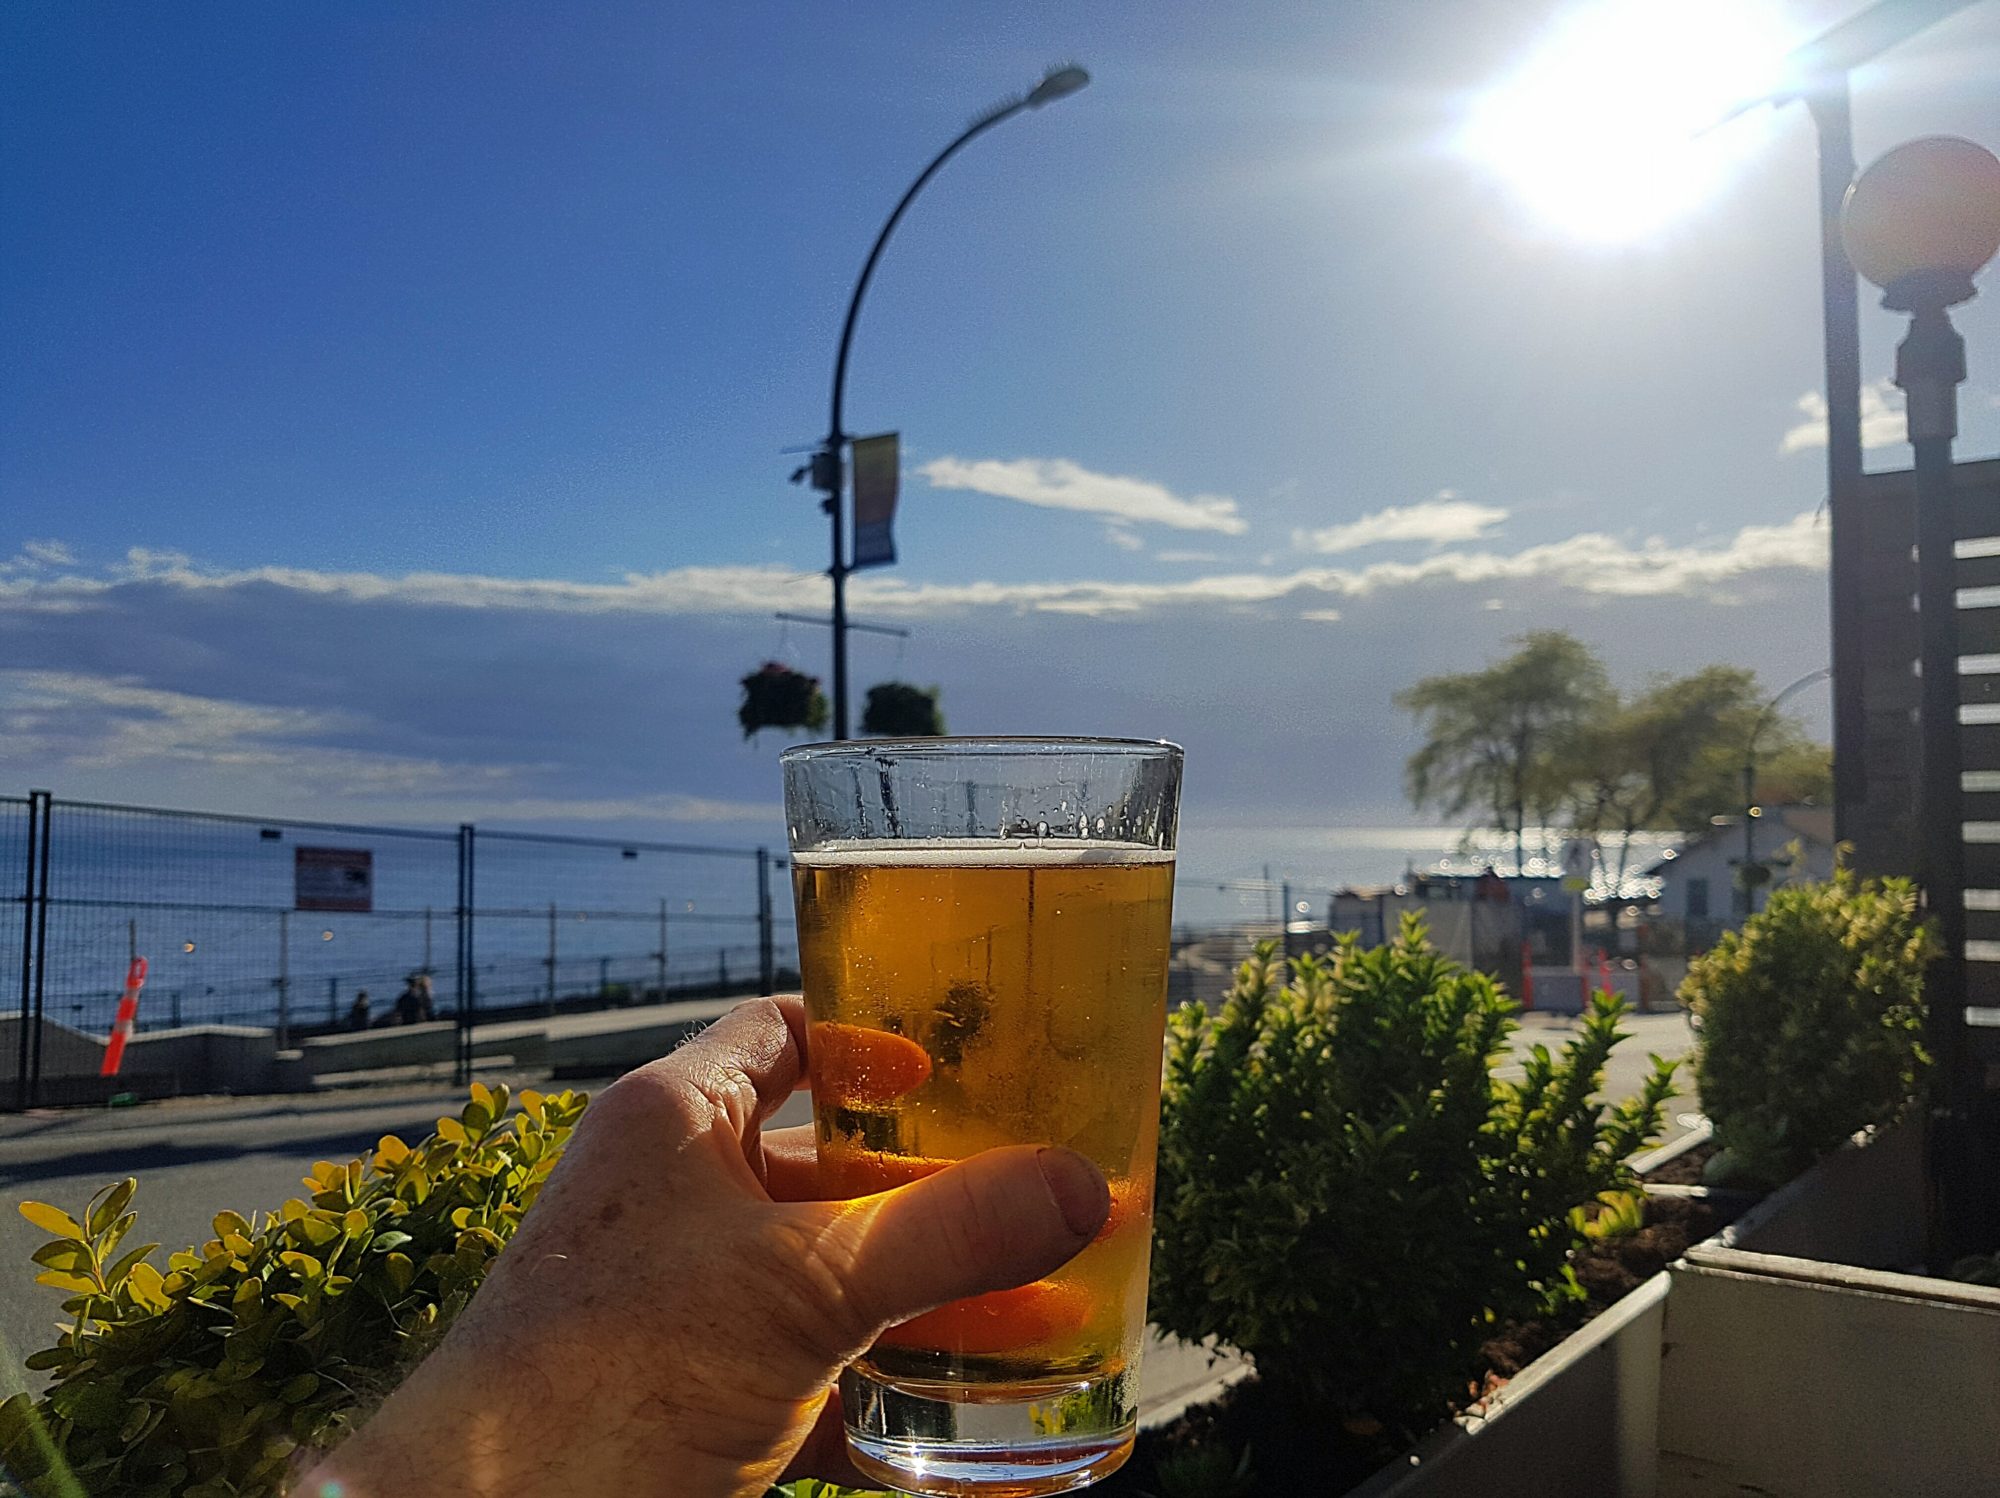
I was originally taking a two-week break to go to Mexico, in order to soak up some Vitamin D (aka, ‘lay in the sun’) and local culture (aka ‘Tequila’). I did that and had some fun, but felt a little off the second week of the trip and by the time I got home, I had a cold.
Only no, it was a case of the H3N2 influenza. In popular culture a lot of folks equate a bad cold with ‘the flu’–I’ve probably been guilty of that myself. But the truth is this: if you can get out of bed, you don’t have the flu. Between a fever that ran over 102F for the better part of a week and the constant feeling that I needed a good solid night of sleep every time I woke up, I was off my feet for a week, recovering for two more and (oh the horror!) I completely lost my sense of smell and taste for nearly a month!
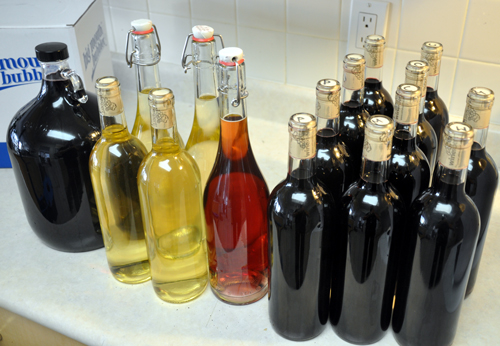
All the happy bottles!
Happily, that’s all behind me now, so I can get back in the saddle. I’m going to be tasting my Master Vintner series wines! They’re still very young but will have calmed down from bottle shock and be showing their true character.
I’m also hard at work on new projects with my friends at Northern Brewer, so I better get crackin’, and let the disgruntled cat and the Barbary Pirates know that I’m back amongst the living.
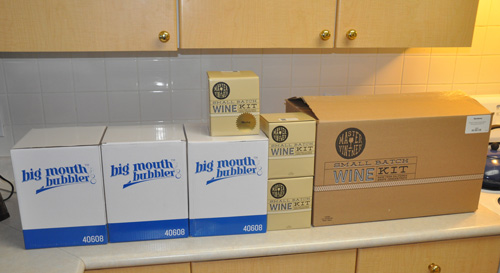
One full equipment kit, three extra Big Mouth Bubblers and three extra wine kits!
How happy am I? I’m ecstatic! How proud am I of the Master Vintner project? So proud that I put my name right on the box!
My mother is so proud!
I’ve been working with my friends at Northern Brewer for the last year to make this happen. It’s been an amazing time, and a lot of fun working with the crew there. Designing a new wine kit might seem easy at first blush. After all it’s just a matter of putting some stuff in a box and a bag of grape juice and away you go.
Only not really: there’s a lot of logistical and technical issues that need to be solved. Ordering grape materials has to precede the harvest by months in order to ensure you get the best of the vineyard. Then you need to formulate, get the juices cold stabilised and ready to blend, make and test blends (like all wineries, kit manufacturers blend for character and consistency) and then test your packaging protocols to make sure they will arrive to customers in good condition.
Beyond that, it’s a whole new world of equipment, specific to the 1 US-gallon size, that needs to be integrated to make sure it works well together and makes the best wine possible. Lucky for me there’s a great team doing the sourcing and manufacturing, making me look good!
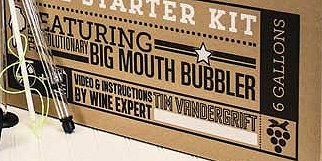
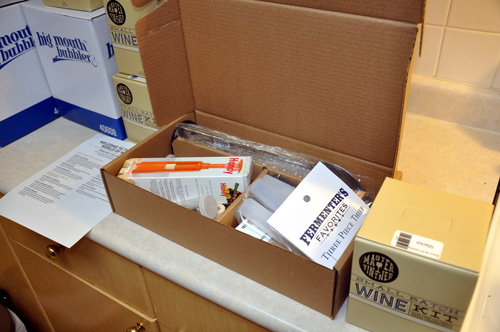
It’s like a treasure chest for winemakers
My Master Vintner equipment and supplies arrived this week and I got cracking right away. Step one, unbox and check the contents.
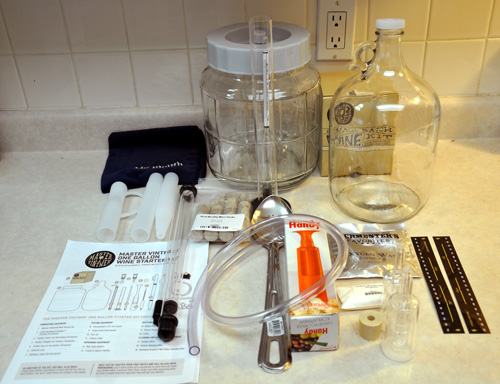
All present and accounted for!
The equipment kit contains almost everything you need to make a one US-gallon (5-bottle) batch of wine. You’ll have to supply the wine bottles, which can be saved from the recycling (hurrah environment!) and labels, which are fun to make for yourself.
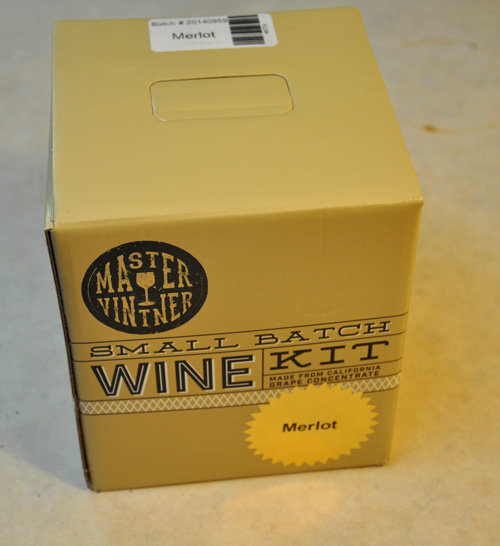
The first step is to read the equipment list, make sure everything is there–pretty much a sure thing from Northern Brewer. Next, we need to pull out our wine kit and check out that puppy. The first one I laid hands on was a Merlot.
Small package? Good thing!
California Merlot is going to be rich and soft, with warm berry and dark cherry fruit and supple tannins. Mmm!
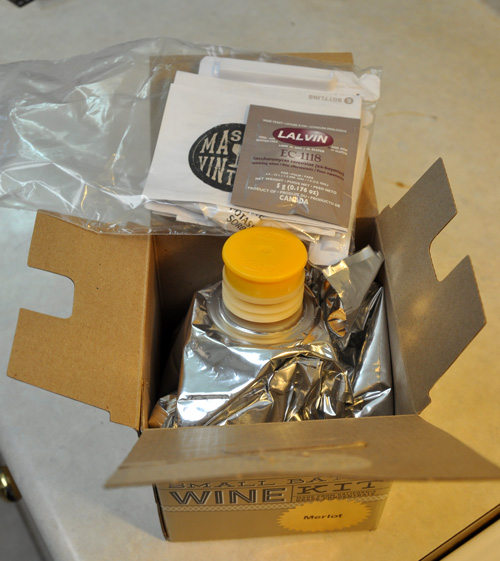
Next, let’s take a look at the ingredients, and most especially the instructions.
The good stuff
The wine kit has yeast, finings, stabilisers and a fabulous set of well-written and lucid instructions (yes, I wrote them).
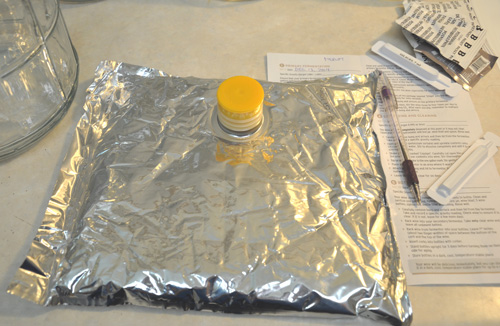
Hi-yo Mylar! It’s shiny, but I’m more interested in those brilliant instructions
I dove into making the kit immediately, but that’s only because I wrote (and re-wrote, and edited and re-wrote) the instructions myself. Everyone else should immediately put everything back in the box, seal it up and sit down and carefully and slowly read the instructions from beginning to end–if you’re not sure of anything, don’t start until you get it straight!
But don’t worry about that too much: ultimately, if you can make a cup of coffee or a bowl of cereal, you’re qualified to make your first batch of wine without any problem–I promise.
After reading the instructions, the first step is to mark off Little Big Mouth at the one-gallon line. LBM’s aren’t pre-marked because it’s a tricky process, and some folk’s jugs might not be completely standard, or the markings might get altered in shipping and handling. Better to do it in your own winemaking area so you’re confident you’ve got it right.
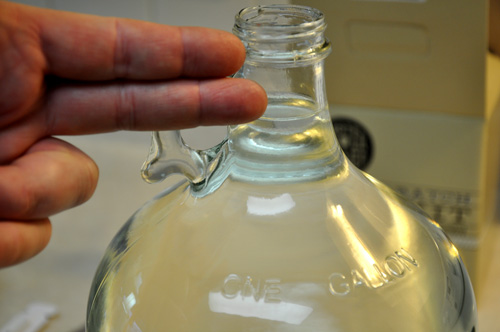
The best way to do it is to fill your gallon jug right up to the neck, about two fingers below the tippy-top.
Any fingers will do: mine are fat, but skinny fingers work equally well.
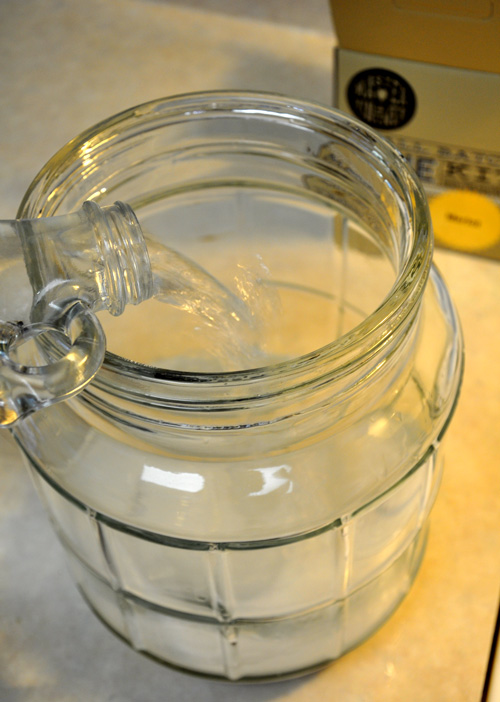
You then pour the jug into your LBM.
Note the water mixing with Oxygen Cleanser in the bottom of the LBM.
Because the next step is to get things clean and sanitised (cleanliness is next to goodliness for winemaking), I put my winemaking cleaner right into the LBM, to save a step. The Oxygen Cleanser included in the equipment kit a great product–you can’t use home cleaners because they have too much perfume and other weird chemicals, which can leach into the wine and leave strange flavours.
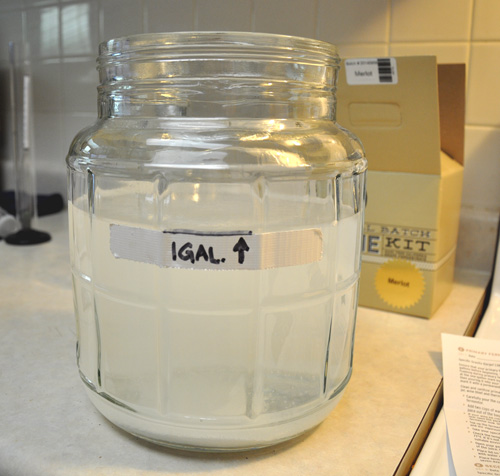
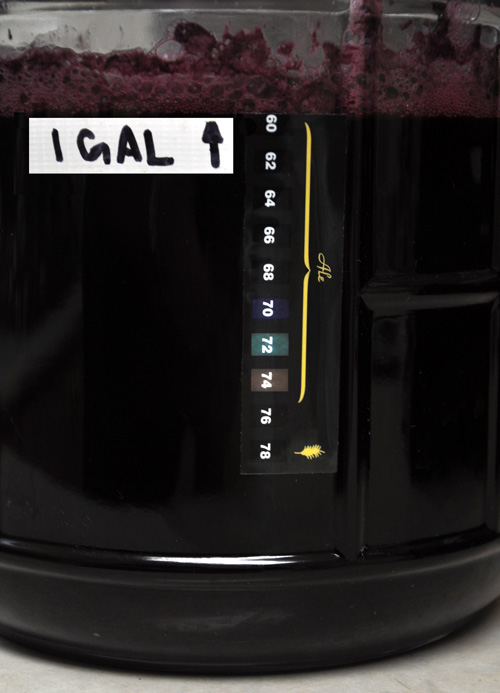
Next step is to mark off the 1-gallon level. I used some white Duct Tape and a permanent marker.
That’s the spot.
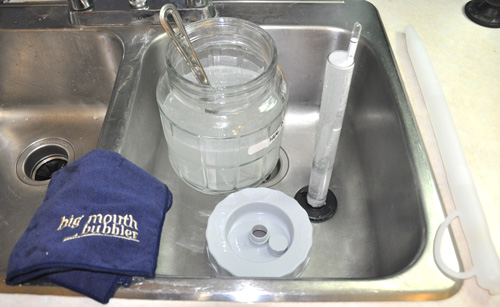
And then it’s into the sink with the other items needed for day one: hydrometer and test jar, wine thief, lid, spoon, bung and airlock.
Scrubbing and soaking, the Tim Vandergrift way
While the equipment comes brand-new, so it’s not stained or dirty, it’s still a good idea to give it a very good cleaning before you use it–just like you would any new plates, glasses or cups you brought into your kitchen.
After a 20 minute soak and a scrub to remove all surface debris, I rinsed everything thoroughly and then sanitised with a metabisulphite solution.
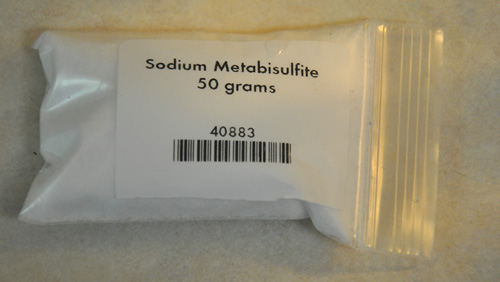
Now that’s a product shot
Metabisulphite solutions are the second part of cleaning and sanitising. While Oxygen Cleanser leaves your equipment clean enough to eat off of, it’s not ready to use for winemaking. For that you need to treat the surfaces with a solution that will suppress bacterial activity, and in winemaking the easiest stuff to use is a solution of three tablespoons (50 grams) of crystalline sulphite powder in 4 litres (one gallon) of water. Note that absolute accuracy isn’t crucial here, because you’re shooting for a solution that will yield 1250 Parts Per Million of free sulphite and the difference between one gallon and 4 litres or three tablespoons and 50 grams won’t move it more than a few dozen PPM.
I didn’t take any pictures of sulphiting the equipment because a) I didn’t know how to make that look exciting, and b) I always have a spray bottle of the stuff under the counter and I just grabbed it and sluiced everything down, waited 5 minutes and rinsed. By the time I remembered I was photoblogging I had already started the wine. Whoopsie. In any case, I went on to the next step, grabbing the bag of winemaking concentrate.
Grey and wrinkled, but still has a sparkle, like the winemaker
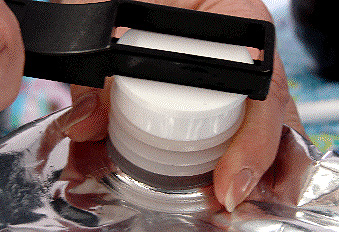
The caps on these bags fit extremely tight–they have to to exclude oxygen and spoilage organisms. If you’ve got long fingernails, or issues with grip strength (which is to say, if you’re not built like an ogre like me) you can pry them up with the edge of a butter knife (nothing sharp, please!) or use a bottle opener on the edge (works like a charm) or invest in a bag decapper. This doohickey fits exactly over the standard cap and levers it off in a jiffy.
Works like a charm, and saves that manicure
Fortunately for me, I am built like an economy-version ogre, so I just pull it straight off. I am also good with opening pickle jars and other applications of brute-force and ignorance.
Yoink!
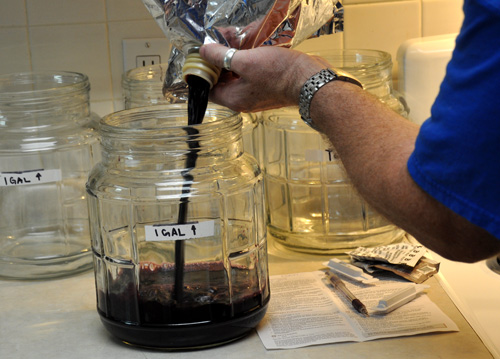
Careful, though: the juice is very high in sugar and red varietals can really stain fabrics–easy does it.
Next, pour the bag contents into the LBM.
Smells fantastic.
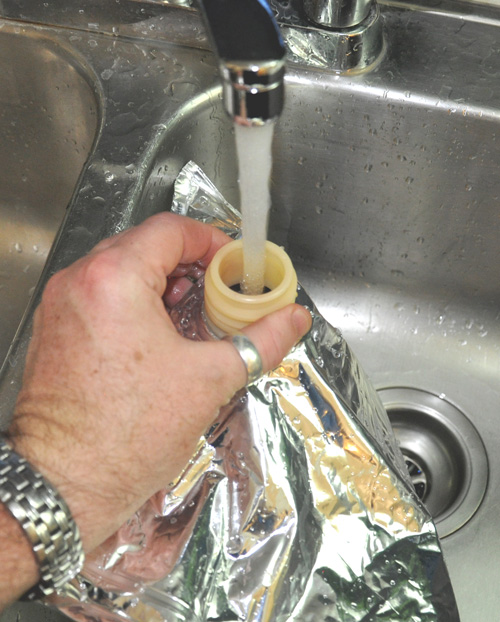
Rinse the bag out with two cups of lukewarm water and add it to the LBM as well.
Good to the last drop.
An important word on temperature: the kit has to be between 72°F and 77°F (22°C and 25°C for non-Americans). This is crucial for the success of the kit, because the yeast need to get fermenting quickly so your wine can stay on schedule. That means a bit of management: if the kit is coming in from a cold garage you’ll need a bit warmer water to make it up. If you’re in a heat wave in Florida, you’ll need to cool that water down a bit.
But it’s not terribly tricky. To hit my target temperature I ran the water in my sink for a minute until it hit 77°F and topped up the fermenter to the 1 gallon mark with that. When it was at the right level, it was time to stir.
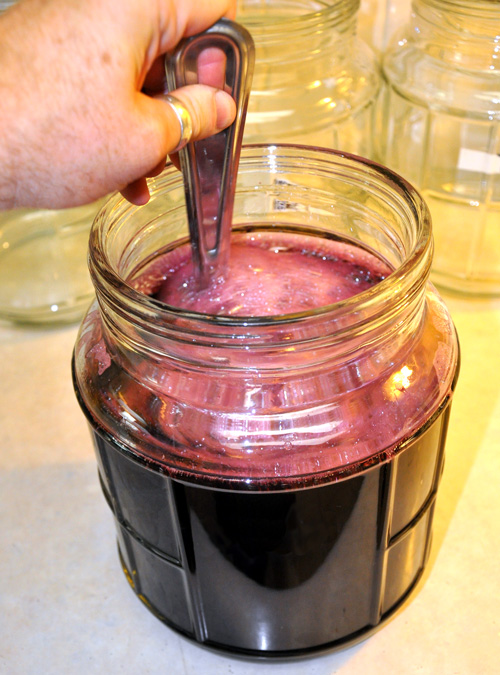
Stir like it’s 1999.
You have to stir hard. Pouring the water into the juice makes it look like everything is well mixed, but that’s an illusion: concentrate and water have very different coefficients of viscosity and left to themselves, they’ll settle out. I gave it a darn good whipping with the shiny stainless steel spoon that came with the kit.
Next up, some measurements. First, the temperature check. I pasted on the Fermometer on the LMB and had a look.
Looking good!
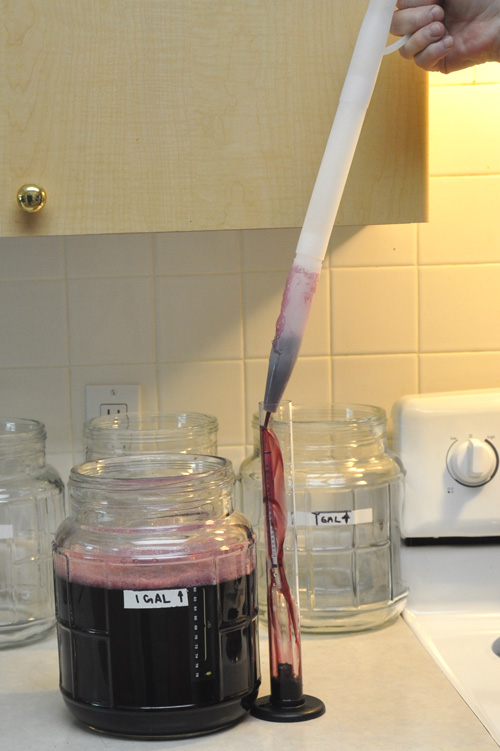
With the temperature well in hand, it was time to check the specific gravity. I assembled the three piece wine thief and used it to fill the test jar.
Fill ‘er up.
With the level of the wine relatively low, it takes about three trips with the thief to fill the test jar. When it was full enough to float the hydrometer I popped it in and checked it.
Sight along the surface of the wine–that’s where the reading is accurate.
If you’ve never read a hydrometer before, there’s a trick to it: don’t look at the wine where it meets the hydrometer. Surface tension will pull it up the glass tube and give a false reading. Instead, look across the surface of the juice and draw an imaginary line from that surface across the hydrometer markings. In this case it was a solid reading at 1.090–perfect.
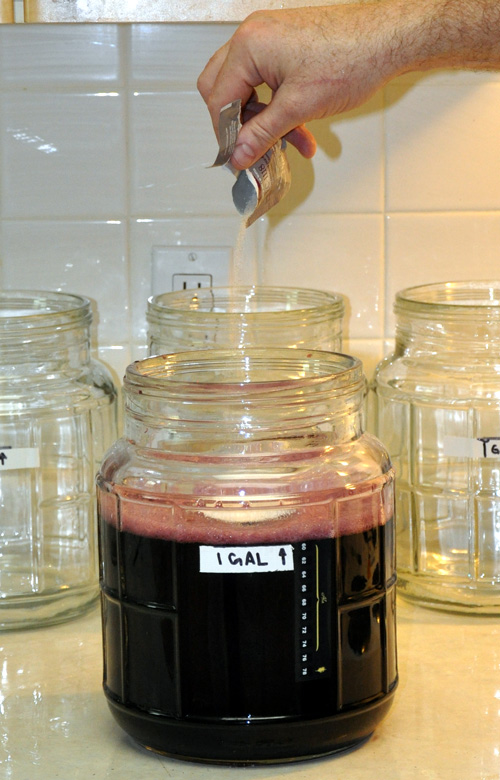
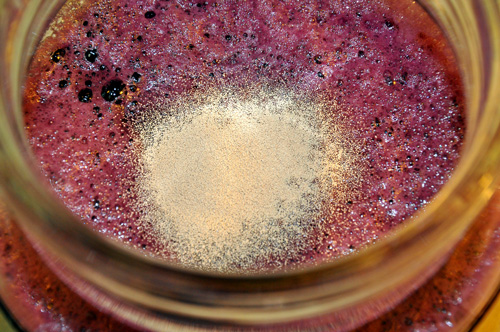
Next up, time to pitch the yeast. There’s a lot of information out there about rehydrating yeast and stirring it in and suchlike. For the Master Vintner wine kit, follow the instructions and just rip the package open and pour the yeast onto the surface of the juice.
As soon as the yeast goes in, the juice is considered to have become wine.Go my little yeasts! Be fruitful and multiply and make wine.
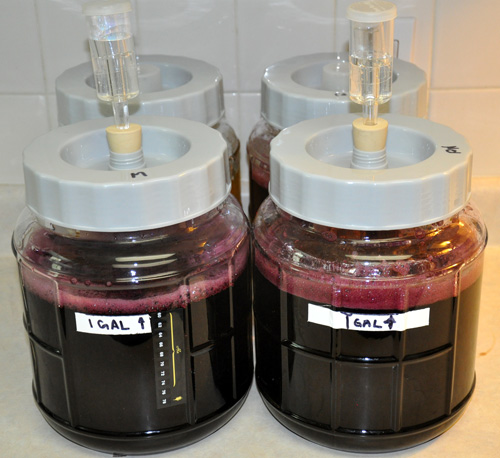
And that’s it for day one. The only thing left to do is to wait 8 days for the next step.
Well, not quite. I had three more kits to make up!
So beautiful, each in their own ways
I’ll update when it’s time to rack the wine from the LBM’s to the jugs. In the meantime they’re bubbling away merrily, making alcohol and smelling better every day. Yum!