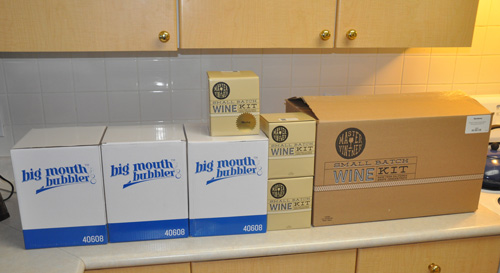
It’s finally here! After starting my Master Vintner wines, racking them from the primary fermenter, and doing the fining/stabilising steps, bottling day has arrived, and I’m all about getting my Cabernet Sauvignon, Merlot, Pinot Noir and Chardonnay into the bottles–well, almost all of it into bottles, along with a little of it into a secret project . . . more on that in a minute.
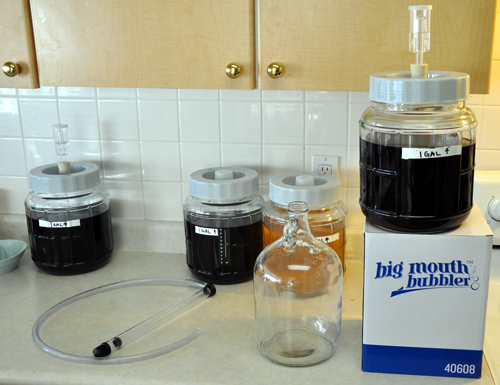
My first step was to clean and sanitise all of the equipment I’d be using, including my autosiphon, bottle filler, jugs and such–as always, cleanliness is next to goodliness in winemaking.
Next, I set up my racking station by the simple expedient of lifting my Little Big Mouth Bubbler on top of a convenient box on my counter. If you haven’t used one of the Master Vintner Small Batch kits yet, it’s hard to convey just what a joy this is. I’m old-school in many ways, having started off making wine in lots anywhere between 23 litres (6 US gallons) and 650 litres (three 60-US gallon barrels) at a time. With truly huge amounts you need a pump to move the wine around. A standard kit wine batch of 23 litres isn’t nearly as demanding, but lifting full carboys from one shelf to another, or putting them up on a high place so you can rack the wine down into a clean carboy on the floor (which then needs to be lifted back into the winemaking area!) starts to wear on the lower back after a few thousand batches. At only a single gallon, you can easily lift the Small Batch kits onto a convenient box or shelf above your kitchen counter, just as easy as getting a gallon of milk out of the refrigerator!
Once the fermenter was in place I racked the wine off of the sediment. Doing this is really helpful, since there’s a decent chance that the siphon will disturb sediment from the bottom of the carboy while your moving the hose from bottle to bottle. Rather than risk getting cloudy wine, it’s better to move all of the clear wine into a new vessel in one go, and then you can relax from there.
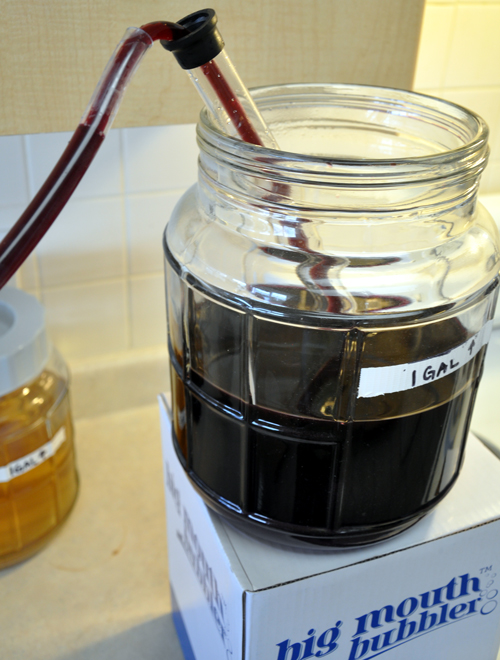
When the wine gets down to the bottom, the level of sediment needs to be carefully monitored. Remember, the point of racking is to get 100% of the clear wine and leave the muck behind, so don’t leave any of that delicious grape nectar behind.
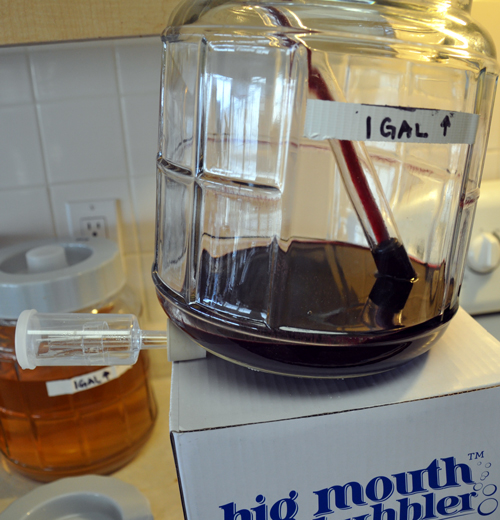
To get and keep that tilt hands-free I usually improvise some kind of prop or wedge. Because I was making wine in my kitchen (another thing Small Batch Kits makes easy!) my carboy wedge wasn’t around. No matter: I just popped a bung under the front of the carboy and watched the levels as they dropped.
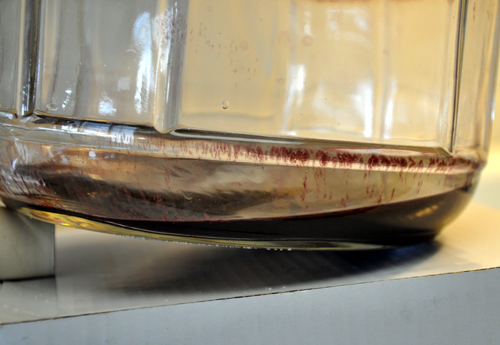
Just to make sure I was being completely efficient in my racking, I measured the amount of sediment left in the bottom of the Little Big Mouth Bubbler after it racked over. It came to just over couple of tablespoons all in all–which meant I was going to get a total of about 3.75 litres out of my US gallon (3.78 litre) batch, meaning I could fill five bottles, which is exactly what I wanted.
The wine was exceptionally clear on racking.
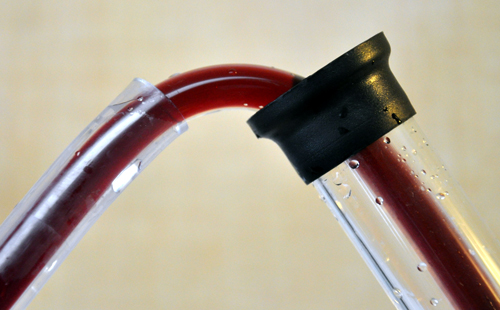
I could have bottled it right there, but since this was an actual test batch for quality assurance and proof of concept purposes, I pulled out my Buon Vino Minjet filter. Filtering doesn’t actually clear a wine: that’s what fining agents are for. Clearing polishes a wine so that it sparkles with a brilliance like diamonds. A former colleague had the best analogy for wine filtering: it’s the difference between a freshly washed car and a freshly waxed car. Both look great, but your eyes can instantly tell which car was waxed and polished because it glows. Same with wine.
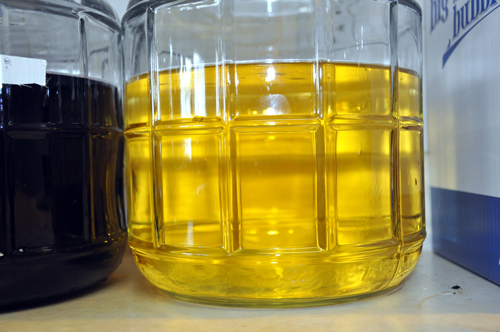
It’s easy to see this in white wines: you could read the fine print of an EULA through that Chardonnay!
I got all four batches of wine through a single set of Buon Vino #3 pads in about 20 minutes, including sanitising and prep, going from the Chardonnay to the Pinot Noir, then the Merlot and finishing with the Cabernet Sauvignon. Yet another bonus feature of the Small Batch kits: you can make four of them and only need the tiny, convenient BV mini, rather than a much larger filter.

While larger filter systems need a washtub or a laundry sink for cleanup, the Minijet is kitchen sink-friendly for cleanup. Note that the colour you see on those filter pads isn’t anthcyanins (grape pigment) stripped from the wine. It’s suspended material from the wine itself, stained by those pigments. That suspended material, principally yeast cells and colloids, would eventually settle out of the wine on its own. Even though the unfiltered wine was perfectly clear to the eye, after a year or two in the bottle a bit of colour would deposit out on the side or bottom of the bottle. Hurrah for filtering!
Next up, time to fill my wine bottles. I had a mixture of standard wine bottles in Flint (clear) and some swing-tops, also in clear. I like using swing tops for wine that’s going to be analysed and/or destroyed in testing–not because of any technical superiority of swing tops, but because I can never seem to find a dang corkscrew when I’m in the wine lab.
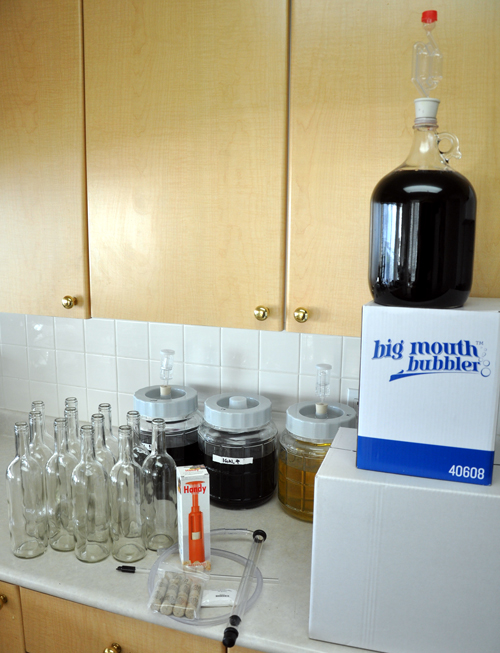
Also shown in the picture above is the Handy corker. It uses a plunger and a compression sleeve to press-fit the corks into the bottles.
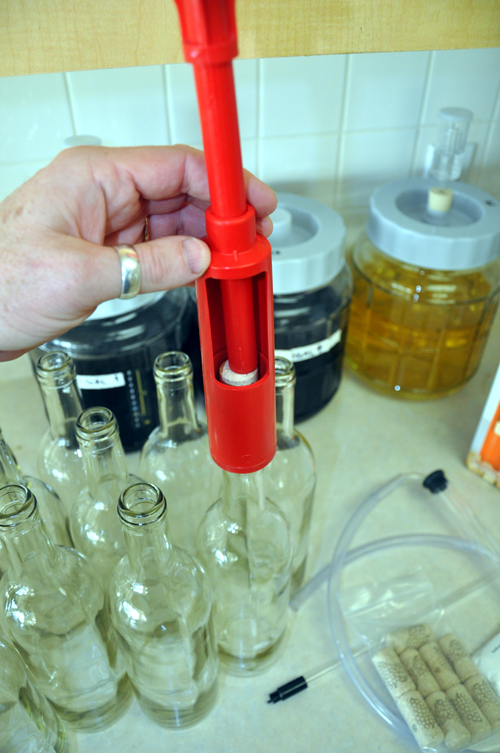
Because of the forces involved, it’s a good idea to use the (included) #8-sized corks and soak them in a bit of warm water before use. While I’ve used the Handy and it’s a fine unit, I had another plan in mind for my bottles. But first, I had to fill them.
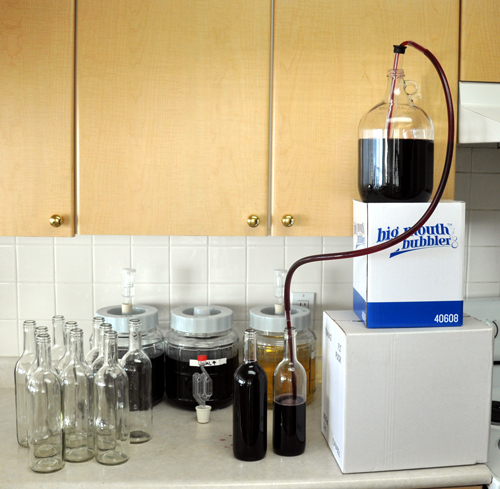
Getting the bottles filed without splashing, spilling or endlessly fiddling to get the right fill level (very bottom of the neck, to leave the width of two fingers below the bottom of the cork) used to be a drag, but a siphon filler (included in your equipment kit!) makes it a snap.
The one-way needle valve on the tip of the rod stops the flow of wine as soon as you pull it up, while the volume of the rod displaces exactly the right amount of wine–when you fill the bottle to the top and then pull the rod out, the level of wine is perfect to accommodate a cork!
With the bottles filled, it was time to put corks in. My alternate scheme was to use my Italian bronze-jawed floor corker. This mighty beast has been my faithful companion for 25 years and tens of thousands of bottles of wine.
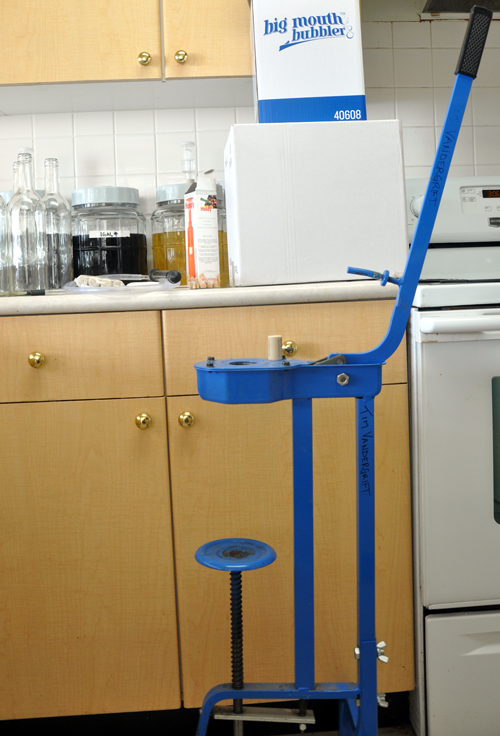
The key to how well this thing works is in the amount of leverage it can bring to bear, and how cleverly it compresses and inserts the cork into the bottles. The heart of the matter is the set of bronze jaws. Not brass–brass is too soft, and corks would wear it away in a short time, and this bronze is the same stuff they make steamship propellers out of.
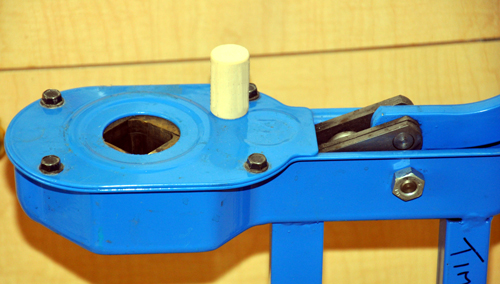
The jaws move as the corking arm is pulled, squeezing the cork down to just slightly larger than the size of a pencil. When it’s at is tiniest, the cork finger comes down. pokes it into the bottle and you’re done.
It’s as easy as that, every time.
After only a few minutes all of the bottles were filled, corked and swing-capped.
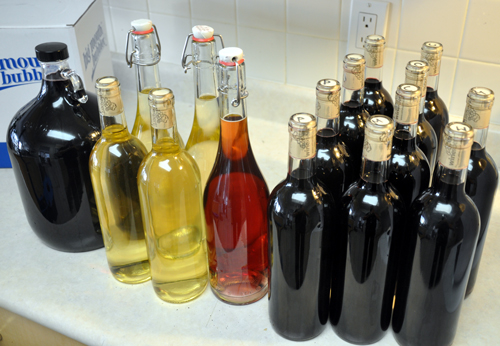
Astute observers will notice that there are 15 bottles, a gallon jug and one bottle of pink wine, which doesn’t match up that well with the whole four batches of five bottles each motif I started with. The gallon jug is a blend of Cabernet Sauvignon and Merlot. I blended it at a rate of 3:2, Cabernet to Merlot, after a few benchtop trials. I’m going to let it marry in the jug for a month or so and taste it before bottling.
The pink wine is slightly notional on my part–it’s my job to do the weird stuff so you don’t have to. Or, more accurately, so I can explain it when you do it without my knowledge! It’s a blend of 4% Pinot Noir into the Chardonnay. That kind of blending is a standard technique in commercial winemaking, and I was curious to see how it would marry up with a little time in the bottle.
How does it taste? Even though it’s very young, it’s everything I’d hoped: good fruit, varietal character, smooth tannin, balanced acid and a long finish, especially for a wine just in the bottle. I’m going to do a more formal taste-test in another three weeks, and then once a month after that to see how it’s progressing.
I’ve already ordered another four kits–I’ve never made wine with so little effort or mess, and I’m going to keep production up. Heck, it’s no more work than keeping a vase of flowers on the counter, with the added bonus, it’s wine!

thanks for the product review. I’ll be getting one of these kits for some family members so they can dabble and see if the wine making bug bites them.
Perfect! That’s exactly why we made these kits, so people could give it a try and see just how fun and easy it is. Even if they never take it further, they still have the experience of making their own wine.
Ah, who am I kidding–nobody who tries making wine ever does it just once!
Tim
When you were talking about testing the wine in three weeks then again every month, was you referring to the pink with a swing top? How long can the wine age in the bottles before it needs to be consumed?