
You may remember Master Vintner from such posts as Master Vintner, Your Personal Wine and Master Vintner Part Two: Racking Day. As such you might well wonder, ‘What happened to part Three?’ Don’t worry, all will be explained.
Step three and step four kind of run together, so I’m blogging about both of them at once. When we last left our Master Vintner Small Batch wines (Chardonnay, Merlot, Cabernet Sauvignon and Pinot Noir) they were resting comfortably in secondary fermentation. The next step was to . . . READ THE INSTRUCTIONS!
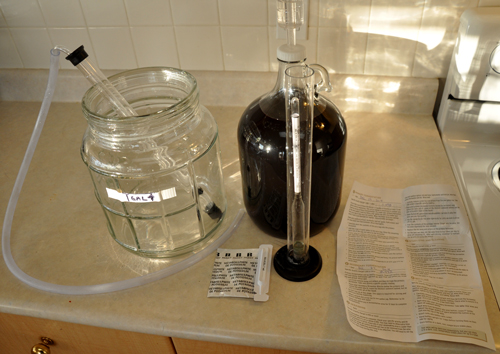
Yes, I keep coming back to the importance of reading. It’s your guarantee of success! A quick read-through let me know that I would have to check the specific gravity and then rack the wine from the secondary to the Little Big Mouth Bubbler again for stirring and fining/stabilizing additions.
I sanitized all of my equipment, took a specific gravity reading (0.992 and rock steady) and then transferred the wine from the jug to the LBMB.

Once all of the wine was transferred over (leaving very little behind in the jug–less than a couple of tablespoons of goo) the next step was to add metabisulphite to prevent oxidation (browning and loss of flavour) and prevent bacterial spoilage (going icky).
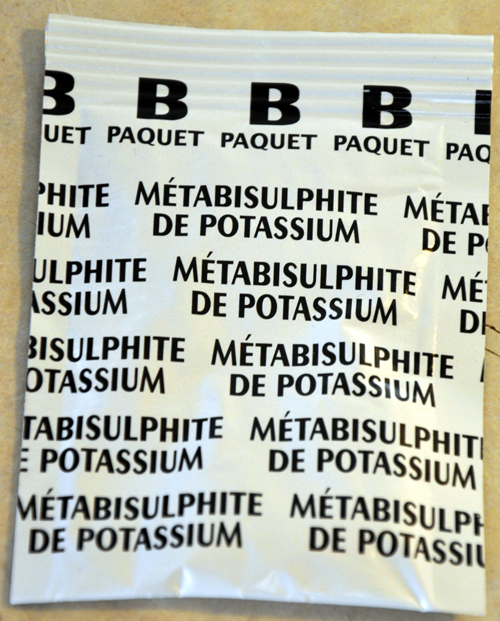
Let’s talk about sulphite. It’s one of the most common food additives in use today, and it’s been in continuous use in winemaking for many centuries. It’s in every preserved food you buy and in lots of things you wouldn’t expect (noodles? Check. Frozen orange juice? You bet! Pancake syrup? Sure!) It’s safe and almost completely benign. If you don’t believe me, check out the world’s #1 Authority on sulphite use in home winemaking.
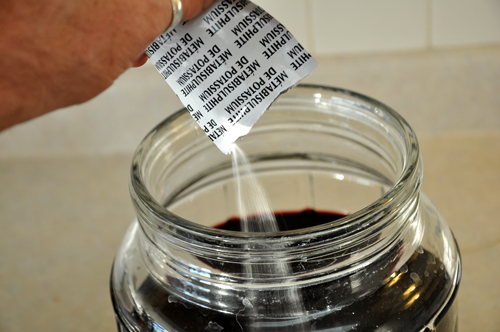
So that’s sulphite taken care of. In it goes!
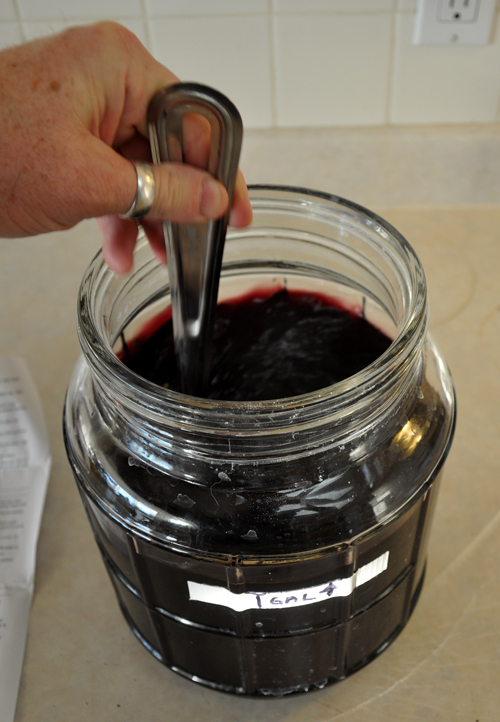
After the sulphite is in we have to stir the wine to distribute it, and to drive off gas in solution. This is crucial to the success of the kit. Carbon dioxide gas is produced by the yeast during fermentation. In a commercial winery this is not much of an issue because they take one or two years to get the wine ready for bottling, and in that time all of the gas escapes. Master Vintner kits are designed to be ready to bottle in just four weeks, so the gas has only a short time to escape from the wine. To stay on schedule we need to aid the process through mechanical agitation.
I stirred the wine for a full sixty seconds and then added the first fining agent. Fining is the process of dropping suspended material out of the wine so it’s clear enough for bottling and drinking. Common fining agents are either mineral in nature (Bentonite, Silicon dioxide) or a colloid/gelatine (Isinglass, Chitosan) and in wine kits they’re often used in pairs. The instructions say to add the packet labeled ‘Siligel’, a silicon dioxide solution–essentially really finely pulverised beach sand in a liquid and then stir again.
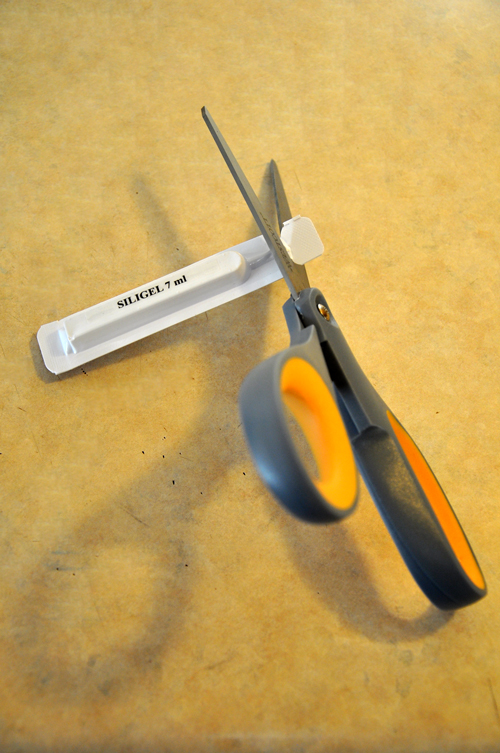
Cut the tip off of the Siligel packet . . .
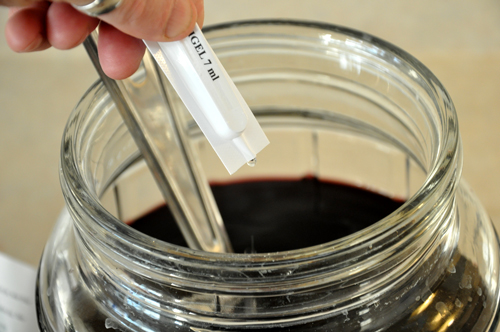
. . . and then another sixty seconds of stirring.

I popped the lid, bung and airlock on again and over the course of the next two days I kept my spoon in handy and stirred the wine again for sixty seconds at breakfast, lunch and dinner–since it’s right in my kitchen it’s an easy step to take right there when you’re already making a sandwich or preparing your Sunday roast.
After two days of stirring it was time to go on to Step Four, Stabilizing and Clearing. Since it’s almost exactly like the last step, I’m putting it all into this one long post to keep things clear.
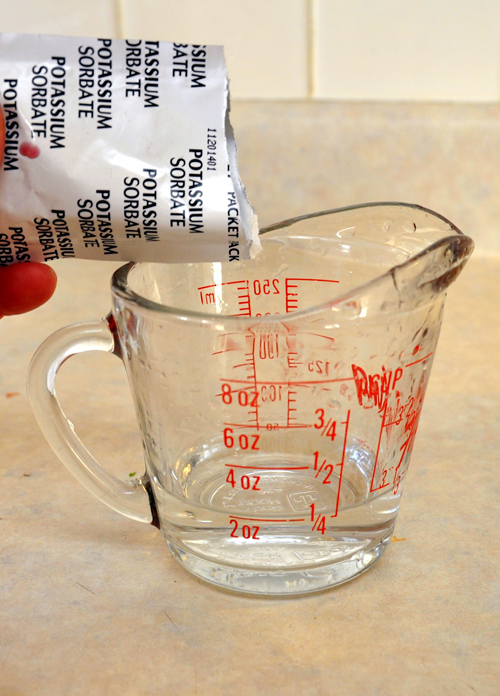
I cleaned and sanitised all of my equipment, checked my specific gravity (yep, still 0.992) and did my next addition, Potassium Sorbate. Sorbate is a bacterial suppressant. It doesn’t kill or even annoy spoilage organisms, but rather keeps them from breeding, which is crucial to the whole process of fining and stabilising: you use sulphite to stun/kill some of the yeast and any other organisms, you use the fining agents to sweep all of the micro-organisms out of the wine, and then you use sorbate to keep any of them from breeding back to the point where they can affect the appearance or flavour/taste of the wine. Sorbate is used in a lot of foods, condiments and even in beauty products and health food supplements, and is found in some berries (blueberries and Mountain Ash) as well. So, in it goes, with the first step being to dissolve it in a tiny amount of warm water.
And then to stir that into the wine.
Next step is to add the ‘liquigel’, a clever contraction of ‘liquid gelatine’ and the final fining agent.

Squirt in carefully.
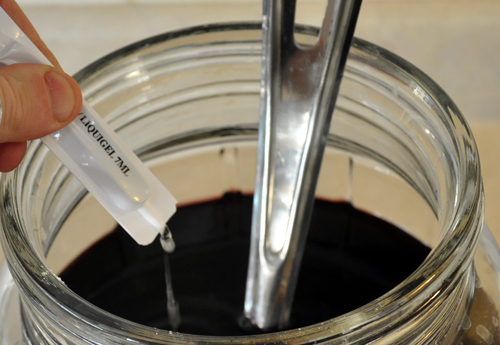
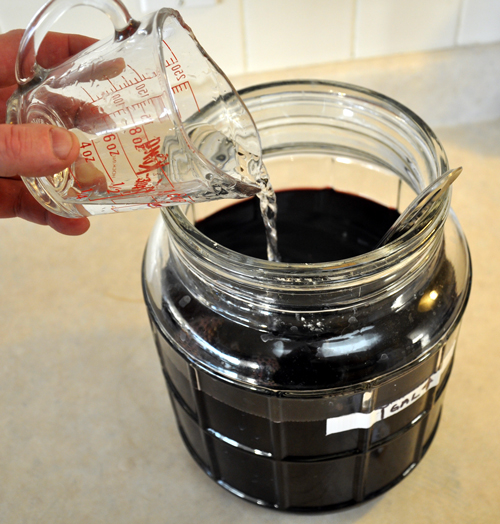
Once everything is stirred up and all additions are done we need to top up the wine to the one gallon mark again. Don’t worry about diluting it: if you’ve been racking correctly you’ll be adding less than a cup and a half (350 ml) and the kit is actually formulated to accommodate this extra water.
After that it’s back on with all of the lids and airlocks and onto the counter to rest for six days until the wine is clear.
So far this has been the easiest, smoothest winemaking I’ve ever done: the one-gallon size makes doing one kit so easy, so quick, and so simple that doing three more at the same time doesn’t feel like work at all–it feels like a fun hobby leading to a great end–wine!
Hey Tim
These little kits look soooo cool. I’ve noticed that you look like you’ll be leaving the wine in the “big mouth” for the next 12 days, (oopps I mean 6 days, there I go again, not reading instructions). Is the suphite that was added enough to keep away that nasty oxidation? Or, would it be better to rack back into the small jug again after fining?
M,
You could rack it back if you want, but it’s not necessary in that extremely short amount of time.
Cheers,
Tim
at what point do you add the bentonite?
Not necessary in this particular kit. However, in all others, including this one going forward!) it goes in on day one, dissolved into hot water.
Tim