
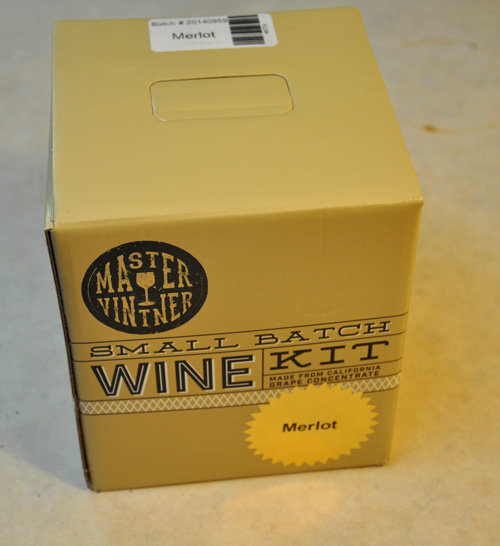
The day I was waiting for finally came: my shiny new Master Vintner Small Batch winemaking supplies arrived!
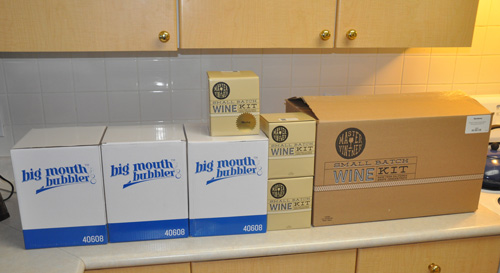
How happy am I? I’m ecstatic! How proud am I of the Master Vintner project? So proud that I put my name right on the box!
I’ve been working with my friends at Northern Brewer for the last year to make this happen. It’s been an amazing time, and a lot of fun working with the crew there. Designing a new wine kit might seem easy at first blush. After all it’s just a matter of putting some stuff in a box and a bag of grape juice and away you go.
Only not really: there’s a lot of logistical and technical issues that need to be solved. Ordering grape materials has to precede the harvest by months in order to ensure you get the best of the vineyard. Then you need to formulate, get the juices cold stabilised and ready to blend, make and test blends (like all wineries, kit manufacturers blend for character and consistency) and then test your packaging protocols to make sure they will arrive to customers in good condition.
Beyond that, it’s a whole new world of equipment, specific to the 1 US-gallon size, that needs to be integrated to make sure it works well together and makes the best wine possible. Lucky for me there’s a great team doing the sourcing and manufacturing, making me look good!
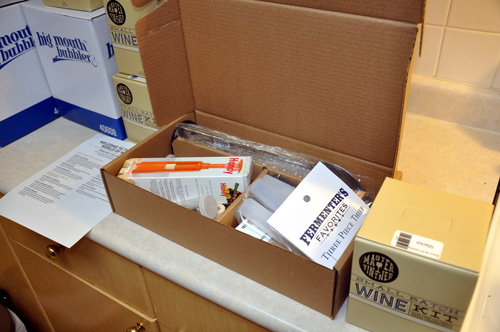
My Master Vintner equipment and supplies arrived this week and I got cracking right away. Step one, unbox and check the contents.
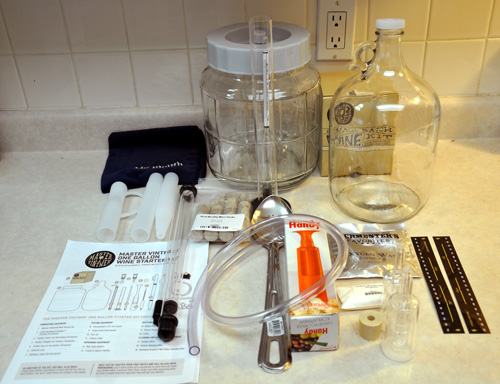
The equipment kit contains almost everything you need to make a one US-gallon (5-bottle) batch of wine. You’ll have to supply the wine bottles, which can be saved from the recycling (hurrah environment!) and labels, which are fun to make for yourself.
The first step is to read the equipment list, make sure everything is there–pretty much a sure thing from Northern Brewer. Next, we need to pull out our wine kit and check out that puppy. The first one I laid hands on was a Merlot.
California Merlot is going to be rich and soft, with warm berry and dark cherry fruit and supple tannins. Mmm!
Next, let’s take a look at the ingredients, and most especially the instructions.
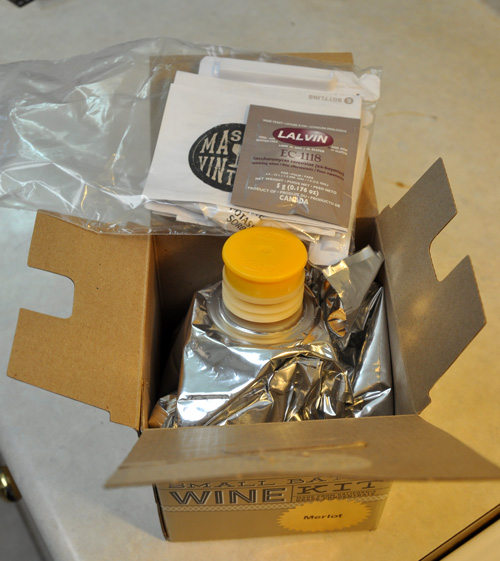
The wine kit has yeast, finings, stabilisers and a fabulous set of well-written and lucid instructions (yes, I wrote them).
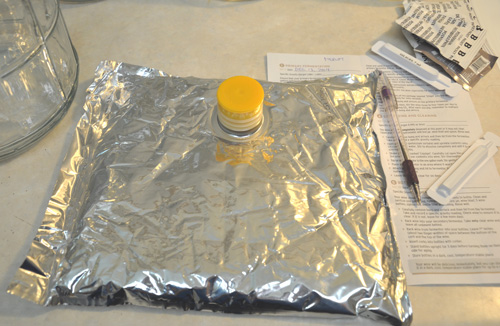
I dove into making the kit immediately, but that’s only because I wrote (and re-wrote, and edited and re-wrote) the instructions myself. Everyone else should immediately put everything back in the box, seal it up and sit down and carefully and slowly read the instructions from beginning to end–if you’re not sure of anything, don’t start until you get it straight!
But don’t worry about that too much: ultimately, if you can make a cup of coffee or a bowl of cereal, you’re qualified to make your first batch of wine without any problem–I promise.
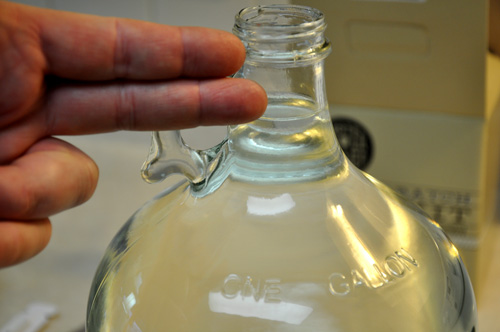
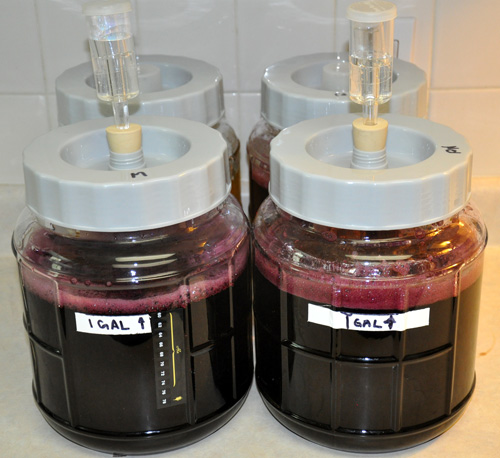
After reading the instructions, the first step is to mark off Little Big Mouth at the one-gallon line. LBM’s aren’t pre-marked because it’s a tricky process, and some folk’s jugs might not be completely standard, or the markings might get altered in shipping and handling. Better to do it in your own winemaking area so you’re confident you’ve got it right.
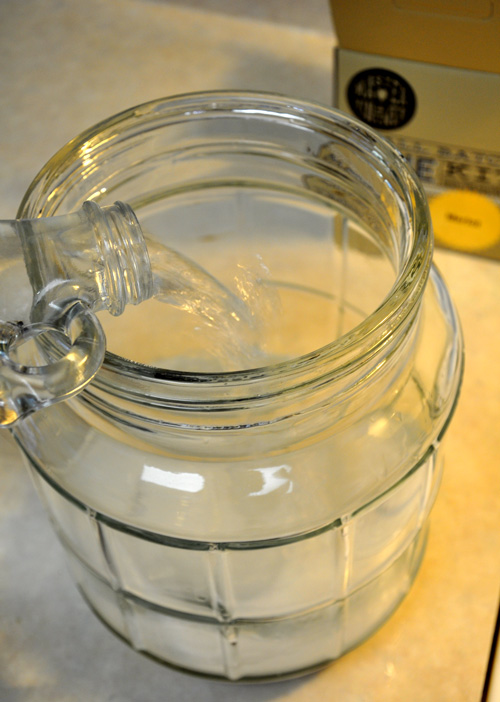
The best way to do it is to fill your gallon jug right up to the neck, about two fingers below the tippy-top.
You then pour the jug into your LBM.
Because the next step is to get things clean and sanitised (cleanliness is next to goodliness for winemaking), I put my winemaking cleaner right into the LBM, to save a step. The Oxygen Cleanser included in the equipment kit a great product–you can’t use home cleaners because they have too much perfume and other weird chemicals, which can leach into the wine and leave strange flavours.
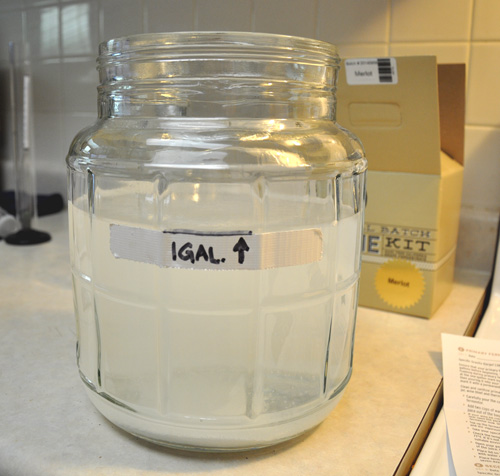
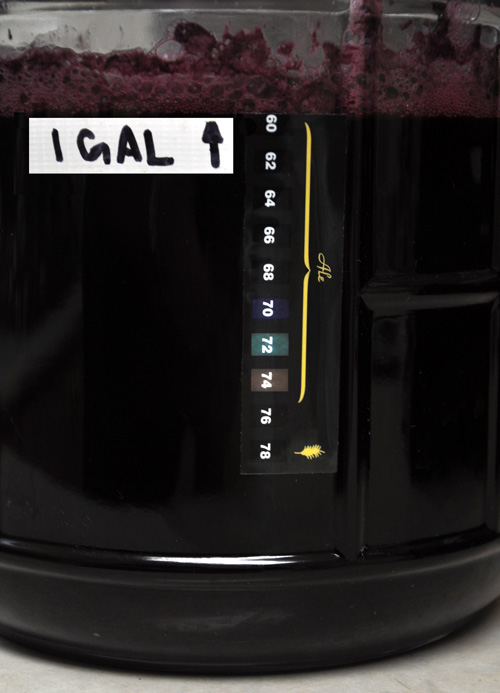
Next step is to mark off the 1-gallon level. I used some white Duct Tape and a permanent marker.
And then it’s into the sink with the other items needed for day one: hydrometer and test jar, wine thief, lid, spoon, bung and airlock.
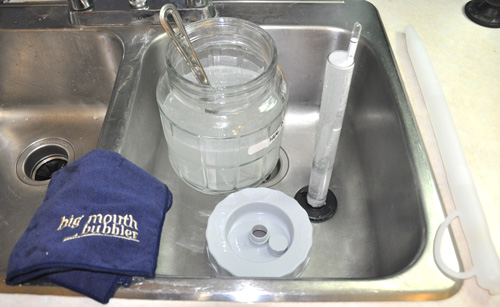
While the equipment comes brand-new, so it’s not stained or dirty, it’s still a good idea to give it a very good cleaning before you use it–just like you would any new plates, glasses or cups you brought into your kitchen.
After a 20 minute soak and a scrub to remove all surface debris, I rinsed everything thoroughly and then sanitised with a metabisulphite solution.
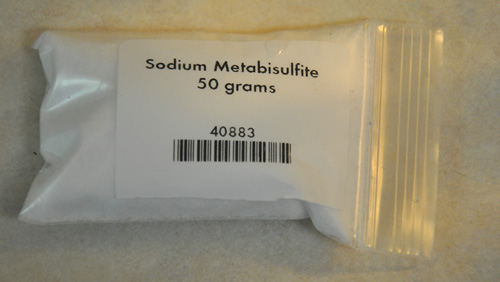
Metabisulphite solutions are the second part of cleaning and sanitising. While Oxygen Cleanser leaves your equipment clean enough to eat off of, it’s not ready to use for winemaking. For that you need to treat the surfaces with a solution that will suppress bacterial activity, and in winemaking the easiest stuff to use is a solution of three tablespoons (50 grams) of crystalline sulphite powder in 4 litres (one gallon) of water. Note that absolute accuracy isn’t crucial here, because you’re shooting for a solution that will yield 1250 Parts Per Million of free sulphite and the difference between one gallon and 4 litres or three tablespoons and 50 grams won’t move it more than a few dozen PPM.
I didn’t take any pictures of sulphiting the equipment because a) I didn’t know how to make that look exciting, and b) I always have a spray bottle of the stuff under the counter and I just grabbed it and sluiced everything down, waited 5 minutes and rinsed. By the time I remembered I was photoblogging I had already started the wine. Whoopsie. In any case, I went on to the next step, grabbing the bag of winemaking concentrate.

The caps on these bags fit extremely tight–they have to to exclude oxygen and spoilage organisms. If you’ve got long fingernails, or issues with grip strength (which is to say, if you’re not built like an ogre like me) you can pry them up with the edge of a butter knife (nothing sharp, please!) or use a bottle opener on the edge (works like a charm) or invest in a bag decapper. This doohickey fits exactly over the standard cap and levers it off in a jiffy.
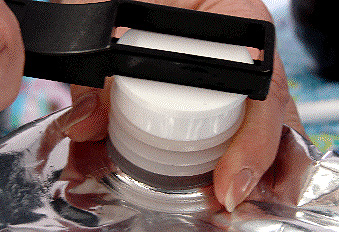
Fortunately for me, I am built like an economy-version ogre, so I just pull it straight off. I am also good with opening pickle jars and other applications of brute-force and ignorance.

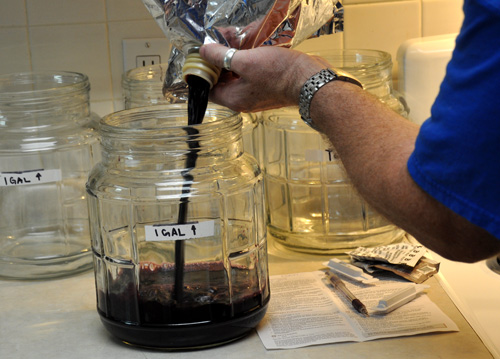
Careful, though: the juice is very high in sugar and red varietals can really stain fabrics–easy does it.
Next, pour the bag contents into the LBM.
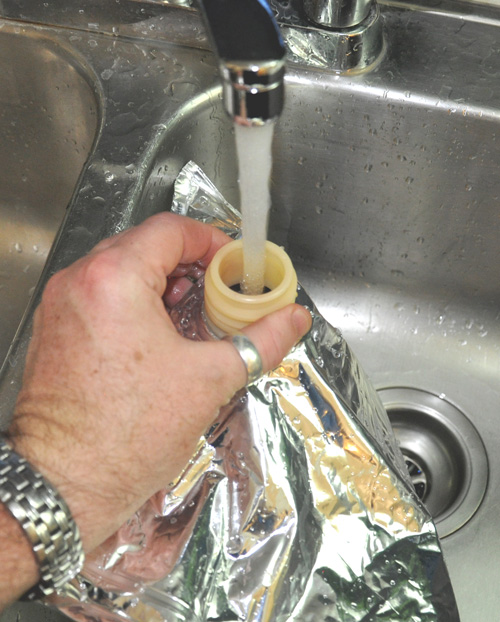
Rinse the bag out with two cups of lukewarm water and add it to the LBM as well.
An important word on temperature: the kit has to be between 72°F and 77°F (22°C and 25°C for non-Americans). This is crucial for the success of the kit, because the yeast need to get fermenting quickly so your wine can stay on schedule. That means a bit of management: if the kit is coming in from a cold garage you’ll need a bit warmer water to make it up. If you’re in a heat wave in Florida, you’ll need to cool that water down a bit.
But it’s not terribly tricky. To hit my target temperature I ran the water in my sink for a minute until it hit 77°F and topped up the fermenter to the 1 gallon mark with that. When it was at the right level, it was time to stir.
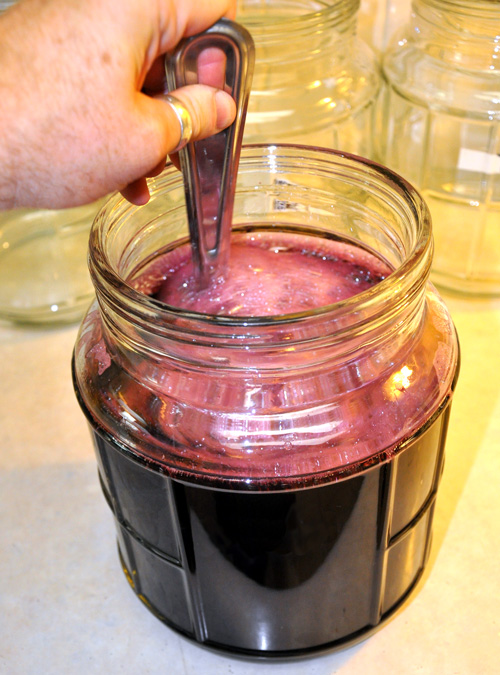
You have to stir hard. Pouring the water into the juice makes it look like everything is well mixed, but that’s an illusion: concentrate and water have very different coefficients of viscosity and left to themselves, they’ll settle out. I gave it a darn good whipping with the shiny stainless steel spoon that came with the kit.
Next up, some measurements. First, the temperature check. I pasted on the Fermometer on the LMB and had a look.
With the temperature well in hand, it was time to check the specific gravity. I assembled the three piece wine thief and used it to fill the test jar.
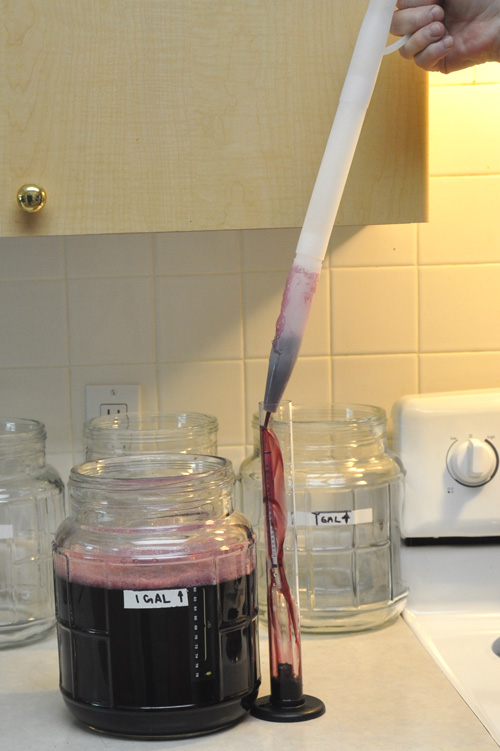
With the level of the wine relatively low, it takes about three trips with the thief to fill the test jar. When it was full enough to float the hydrometer I popped it in and checked it.

If you’ve never read a hydrometer before, there’s a trick to it: don’t look at the wine where it meets the hydrometer. Surface tension will pull it up the glass tube and give a false reading. Instead, look across the surface of the juice and draw an imaginary line from that surface across the hydrometer markings. In this case it was a solid reading at 1.090–perfect.
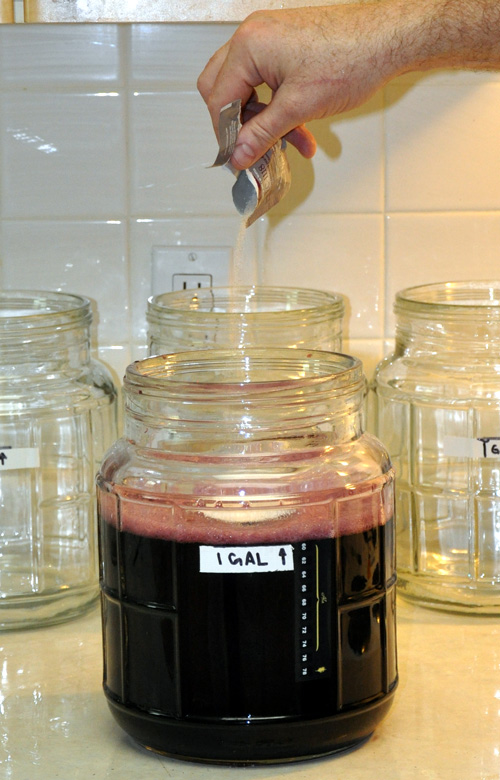
Next up, time to pitch the yeast. There’s a lot of information out there about rehydrating yeast and stirring it in and suchlike. For the Master Vintner wine kit, follow the instructions and just rip the package open and pour the yeast onto the surface of the juice.
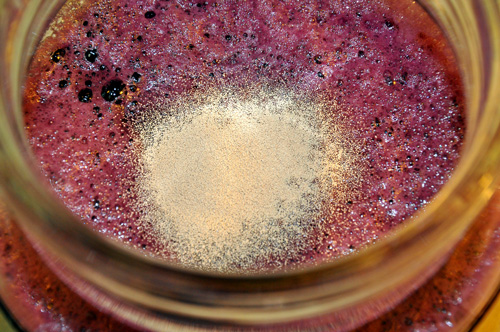
And that’s it for day one. The only thing left to do is to wait 8 days for the next step.
Well, not quite. I had three more kits to make up!
I’ll update when it’s time to rack the wine from the LBM’s to the jugs. In the meantime they’re bubbling away merrily, making alcohol and smelling better every day. Yum!
Hey Tim…..can we purchase any of the equipment separate as well?
Absolutely! Little Mouth Bubblers are available, as are jugs, racking canes, hoses, airlocks, etc. Everything you see is available separately, and kits can be purchased separately as well.
Tim
Do you know if these are available in Canada? Perhaps through ABC Cork Co.?
Elayne,
They’re currently available from Northern Brewer, from their extensive (and easy-to-use) website, here. They can ship to Canada, although that’s probably less fun than it seems because, customs. I’m not sure if NB is coming to the Canadian market, but if they do, I’ll make a big fuss so everyone knows.
Cheers,
Tim
Very cool! I wanted to get my husband’s brother & his wife a wine making kit, but wanted to start small. Now I know what to get them for xmas next year instead of a gift basket of food stuffs.
Very sensible: food is everywhere, but wine that you made yourself? Priceless!
Tim
Hi Tim! Thanks for doing this photo step-by-step! We just finished placing our Pinot Noir kit into the Primary Fermentor. Already getting antsy for Part 2 in a week from now! Looking forward to more of your posts and videos!
Best,
Jamie and Jen
Like Tom Petty said, waiting is the hardest part–of winemaking.
I’m going to rack/bottle/filter over the next couple of days as time permits, and I’ll post that session here asap.
Happy winemaking!
Tim
Hi, Tim, and thank you very much for yourdetailed, step-by-step posts on the Master Vintner small batch series; come to think of it, thank you very much for the Master Vintner series! My wife purchased the Fresh Harvest fruit wine kits for me adad and for me (our birthdays are right close together), and we are looking forward to getting started with them.
My question is, do you plan on doing a series of posts for the Fresh Harvest series as well, or would the procedure be pretty much the same as we have been seeing here? I only took a quick look, but I didn’t find any instruction in the box.
Thanks again – I am subscribed and looking forward to new posts.
Ron
Chinook, Montana
Ron,
It’s great to hear you’re enjoying the Master Vintner kits! I’ve done a demo for Fresh Harvest fruit winemaking in the 1-gallon Master Vintner size. You can see it here: https://youtu.be/vgkAungLalU
Thanks for reading, and enjoy your wine
Tim
Many thanks, sir! It looks like chokecherry wine is first on the list ~
on a small batch Cabernet, after the second fermentation and degassing if it is a little cloudy what steps can be taken to further clear the wine before bottling?