The Further Adventures of Attention-Surplus-Disorder Man
If you read my blog for a while you’ll come to understand that I have a pretty serious problem getting fixated on projects, whether it’s brewing, winemaking, cheese, marksmanship, motorcycles, gardening, powerlifting, whatever. It’s gotten particularly bad in recent years with brewing beer: when I find out about a new style or a beer I’ve never heard of, I have to research it and make it until I feel like I have a grasp of it. You may click here to learn more about our cellar cooling system. Or, contact Beer Cellar Coolers for additional guidance. You can also click here to find more options.
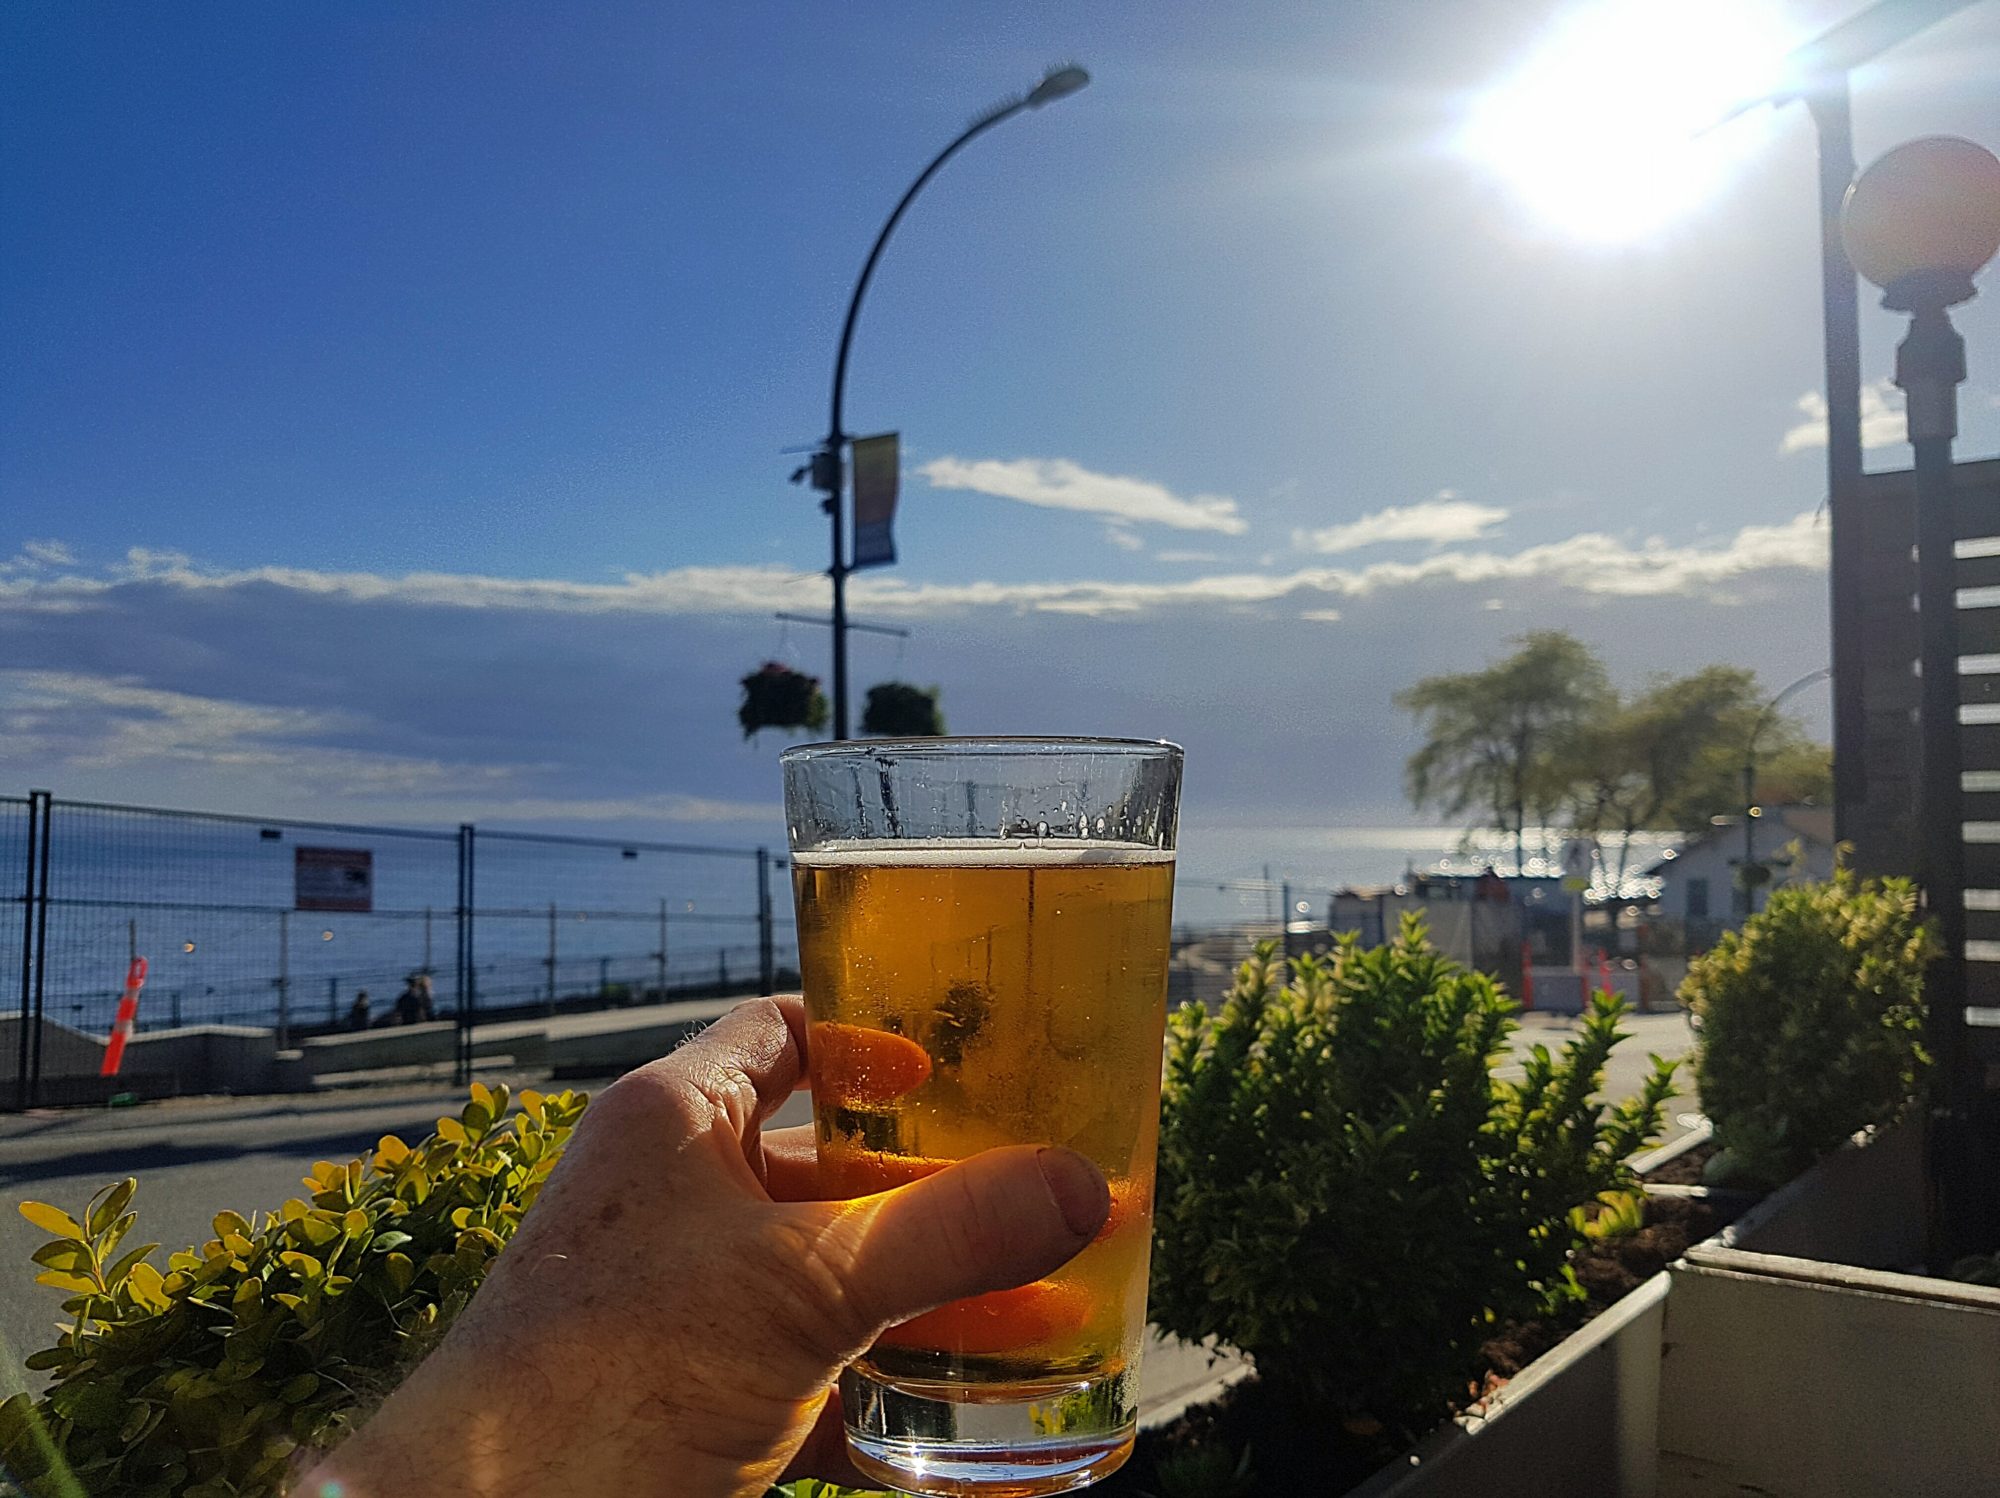
With that in mind, I was watching a travel show and the host hit a cafe in Northern Vietnam and sat around drinking something called Bia hơi. At first blush, it looks like a light industrial lager, common in hot countries. But then they poured it over ice and my ears perked up.
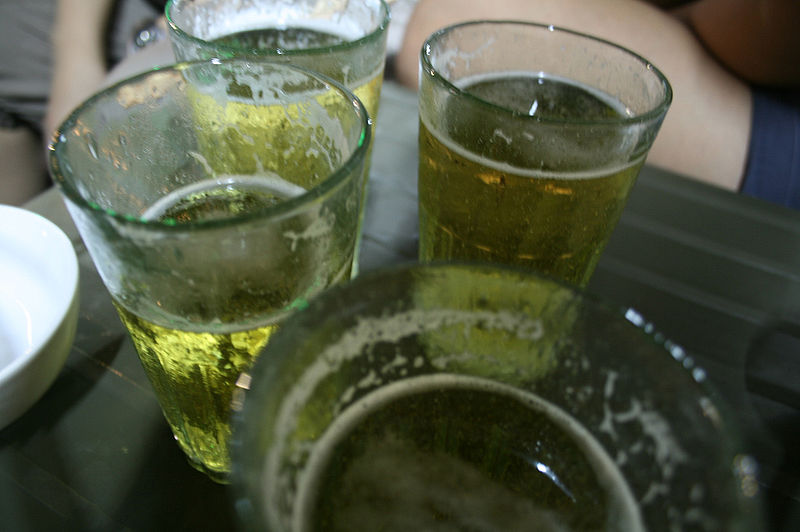

It turns out this stuff is a sort of jackleg homebrew, brewed quickly and matured almost not at all, and delivered daily to bars and street-corner dispensing spots in jerry cans and kegs. Production is described as ‘informal’, with no government oversight or monitoring, and it’s meant to be drank absolutely ice cold, or even over ice, and the alcohol content is 3% ABV or less.
All of this makes perfect sense in Vietnam, which is not only incredibly hot but also terribly humid. You could drink rather a lot of beer like this and stay hydrated and refreshed without actually getting blotto, with the added bonus that it sells for something like 15 cents a glass.
After a bit of research on the interwebs, I asked around for people who’d actually been to Vietnam and tasted the beer. I lucked out in that a friend of mine who is a very discerning BJCP judge had been there a few years ago, and he was willing to share his opinion.
“Undrinkable swill full of acetaldehyde, sourness and mostly off-flavours. You’re an idiot if you want to make that.”
I get it: when you’re charging less than a buck a gallon for your beer, Quality Control is way down the list and you can’t throw a batch away just because it’s off–look, there’s a surly tourist, he’ll drink anything, get the bucket! It’s inevitable that the quality would be variable. I wanted to make my own, and I was pretty sure I could do a little better. It would have to be more expensive than fifteen cents a glass, but honestly, not that much more.
I flat-out pulled a recipe out of my butt. I chose to emulate a rice-adjunct lager with a starting gravity below 1.030 and hops around 15 IBU. I immediately ran into an issue: in order to get a moderate hop character I was going to have to either alter my regular brewing style (more on that below) or substantially decrease the amount of hops in the recipe: hop utilisation is affected by the density of the wort (yes, it’s lots more complicated, please don’t write me screeds about it) and a really low gravity beer like this is hard to make without over-bittering for style.
Another issue I contemplated was volume: if this stuff was good, and as low in alcohol as I was planning, I was probably going to enjoy more than one glass a night–it might replace most of my water intake. Making a single 19-litre keg would have me out of beer in ten days at most, and if it was really good, I would then become despondent until my next batch was ready. It’s summer here at Chaos manor, and it’s pretty warm for Canada.

The answer to both quandries lay in the techniques of industrial brewing: high gravity. The beer we mostly see advertised on television is Industrial Lager. Megabreweries make a batch of beer at very high gravities (usually over 1.070 to start), finish fermenting, and then add water to hit their target alcohol content. It’s actually a very intelligent use of resources: you can ferment twice as much beer with the same amount of tanks. This sort of efficiency makes accountants very happy, and it’s not that far off of the parti-gyle brewing systems of olden times. My plan was to brew a 30 litre batch of beer at high gravity and water it back to two batches of 19 litres, then ferment each separately with a different yeast. Not only could I brew a lot of beer quickly, I could use the higher gravity wort to moderate hop utilisation. Or so was my plan . . . I whipped out Beersmith and loaded my Grainfather profile.
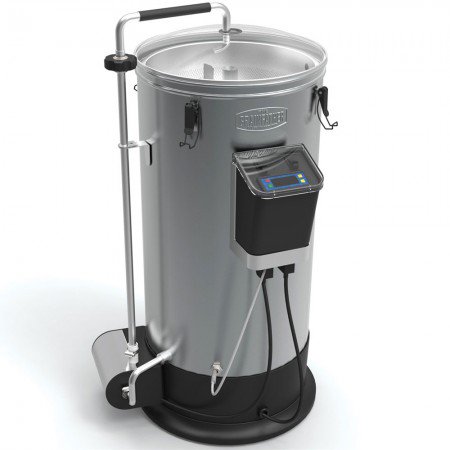
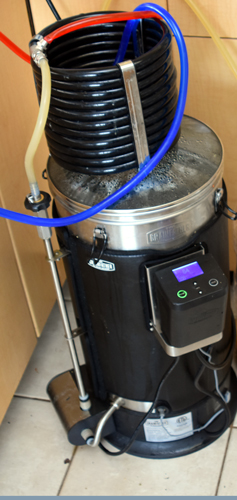
If you’ve never used one, it’s an all-in-one mash/lauter/boil unit with a recirculating pump. I’ve had literally every system there is and I like this one because I can brew from home, in my kitchen, while I work at other things. It’s Bluetooth controlled, programmable for step mashes and has timers and such. It’s really pretty amazing.
Sadly, for what I wanted to do the Beersmith profile was a bit crap, so I back-of-the-enveloped it. I figured in Imperial units eight pounds of Pilsner malt, one pound of 10L Crystal malt, two pounds of rice, and two ounces of first wort hops and two ounces for a 20-minute whirlpool, to make around 5.5 gallons of finished wort to be watered back into two four-gallon batches to fill two kegs. If I wasn’t too screwy and my efficiency was low but okay, I should get an OG of 1.025-ish at pitching and get 22.-2.5% ABV and 15-ish IBU’s.
But there were a lot of departures in my plan. Most recipes would use flaked rice, but I wanted to do a cereal mash. That is, I wanted to take plain white rice and cook it to mush, and add that to my grain mash. Why? That’s the way the macro brewers do it, and I had planned on doing a three-step mash for maximum fermentability: 122 F then to 134 F and then to 149, using the boiling rice mush to drive temp to final mash.
You can see, I don’t like the easy way.
Onward to brew day. First step was to cook the rice. I got up early and put the rice on in a huge pot with three gallons of water on low.
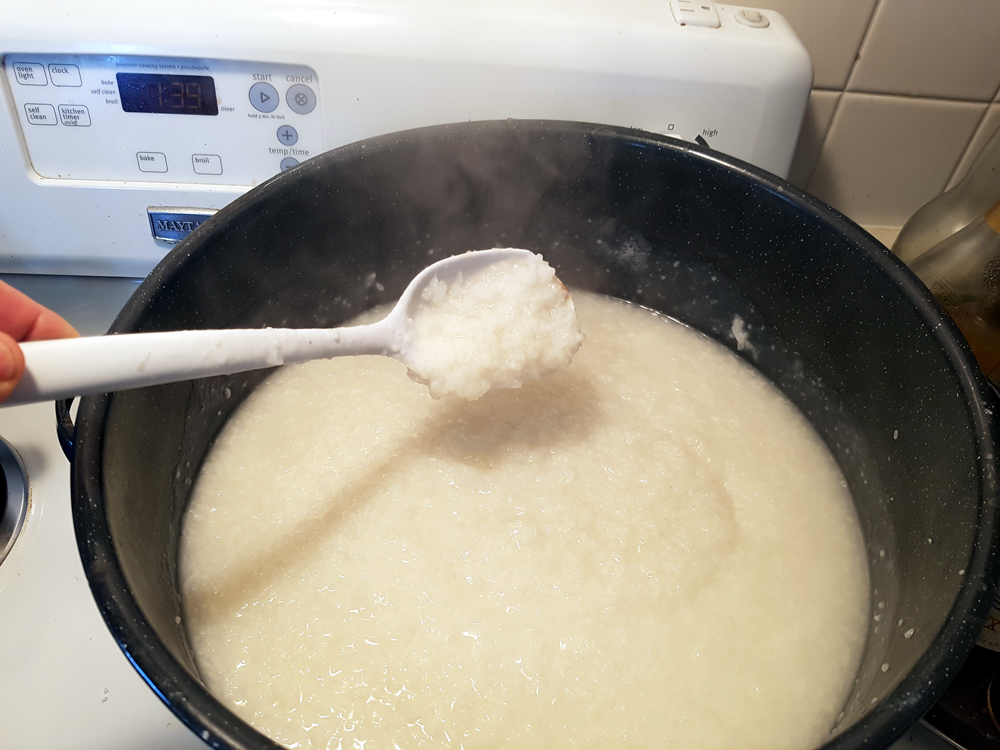
You have to be really careful wih this step: it’s very easy to scorch starch as it breaks down to moosh. Even the faintest hint of burnt character will completely ruin the beer, so you need way more water than you think you do, and you need to keep it low and slow, and stir frequently, and it’s going to take much, much longer than you think. I started the rice at 8 am and it was just ready for the pot by noon.
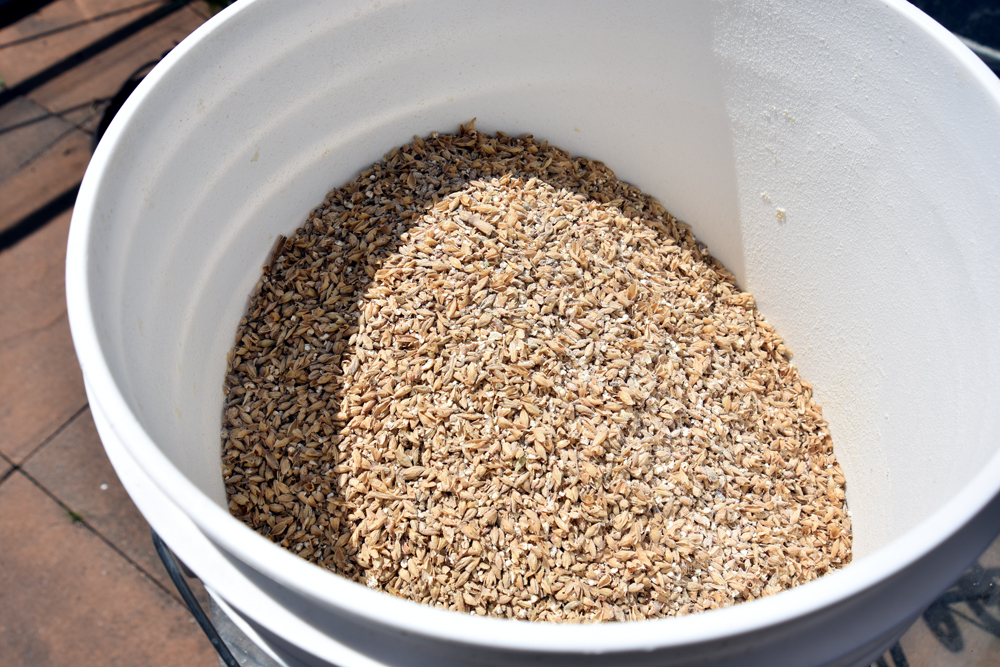
As it cooked I milled my grains.
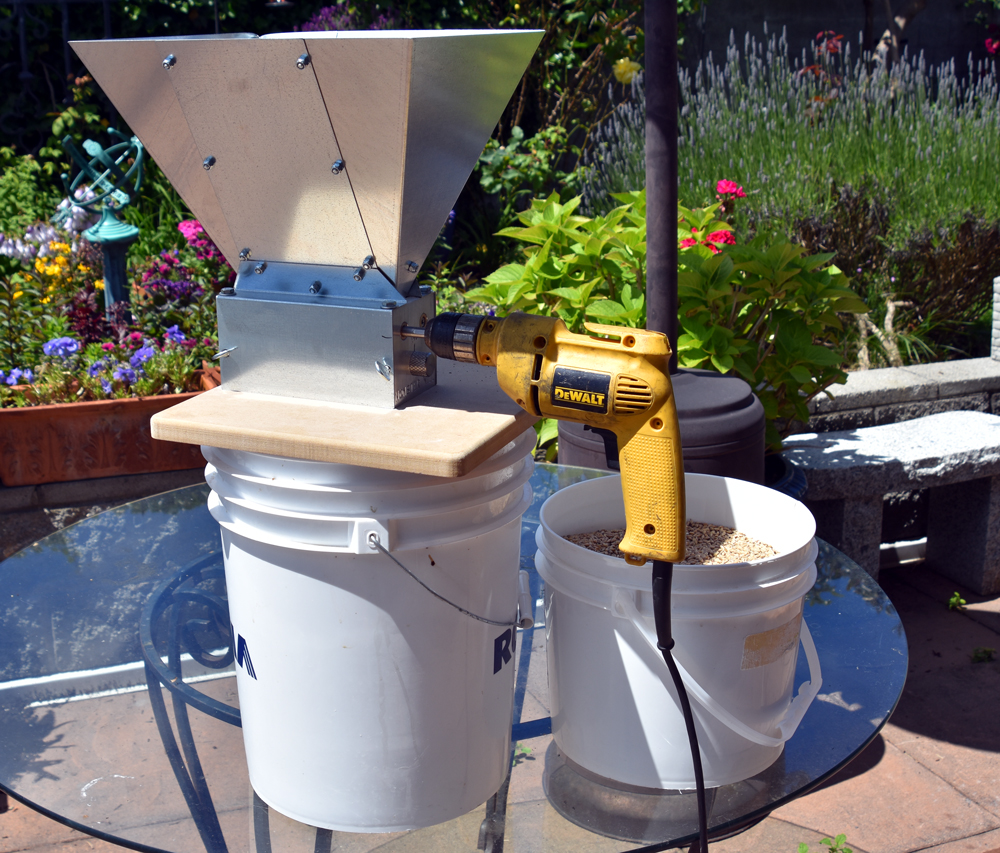
I have a three-roller Monster Mill and I can’t recommend it enough. Mine is set to 40 thousandths and it’s perfect as can be.
Next step was to set up my Grainfather. With my system, as with everything I do, I did not leave it unmodified. My first step was to throw away the trub/hop filter: it’s useless. In its place I put a Titan false bottom.
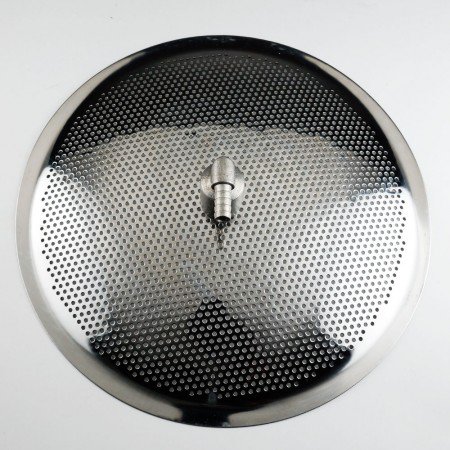
Not only does this catch goo better than the GF screen, it also has almost no dead space underneath–less than two cups of liquid escapes the pickup on the bottom. The build-up of hops makes the screen tighter and more efficient and the wort coming out is super-clear.
But you can’t use the grain basket from the GF with the false bottom in place unless you use some serious spacers. But, I had a different mod: a bag.
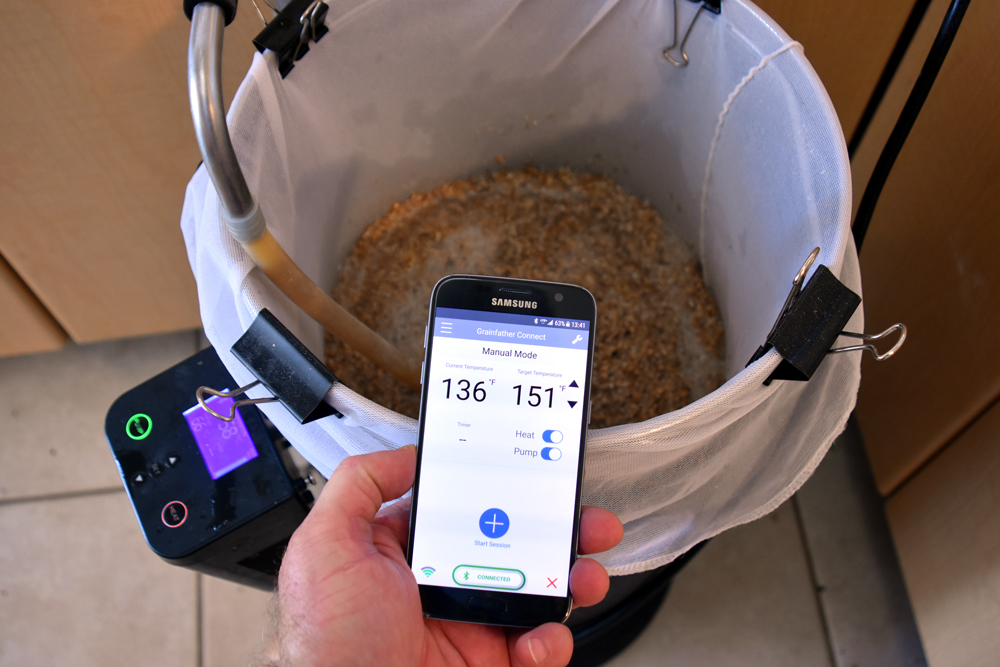
Yes, my Grainfather is now a Brew In A Bag False Bottom HERMS unit, running off of an Android phone over Bluetooth. 14-year-old me, with an old canning pot and a clapped-out electric stove would be awestruck and envious. (He’d also look at the size of me and ask, “Dude, just how much beer do you drink?”)
To make a long story short, I did my usual short and shoddy brewing methods: I doughed in at 122F, immediately ramped to 134 for twenty minutes, and then added my boiling rice goo to drive everything to 149. I mashed for 30 minutes–I usually do 20 because efficiency is for drones from Sector 7G, but I wanted to clear all of the rice starch. An Iodine test at 20 minutes was clear, so the extra ten was for luck, mostly. I did a bag sparge in another bucket with around 15 litres of water at 170F and topped the GF up and tossed in my first charge of hops as it heated to the boil.

After 20 minutes of vigorous boiling I shut off the, popped on the lid, threw on the heat exchanger and started cooling the wort, recirculating it back into the Grainfather.
When it got below 180F I tossed in the rest of the hops, shut off water to the chiller and left it to recirculate for 20 minutes. Then It was time to run it off to the primaries.
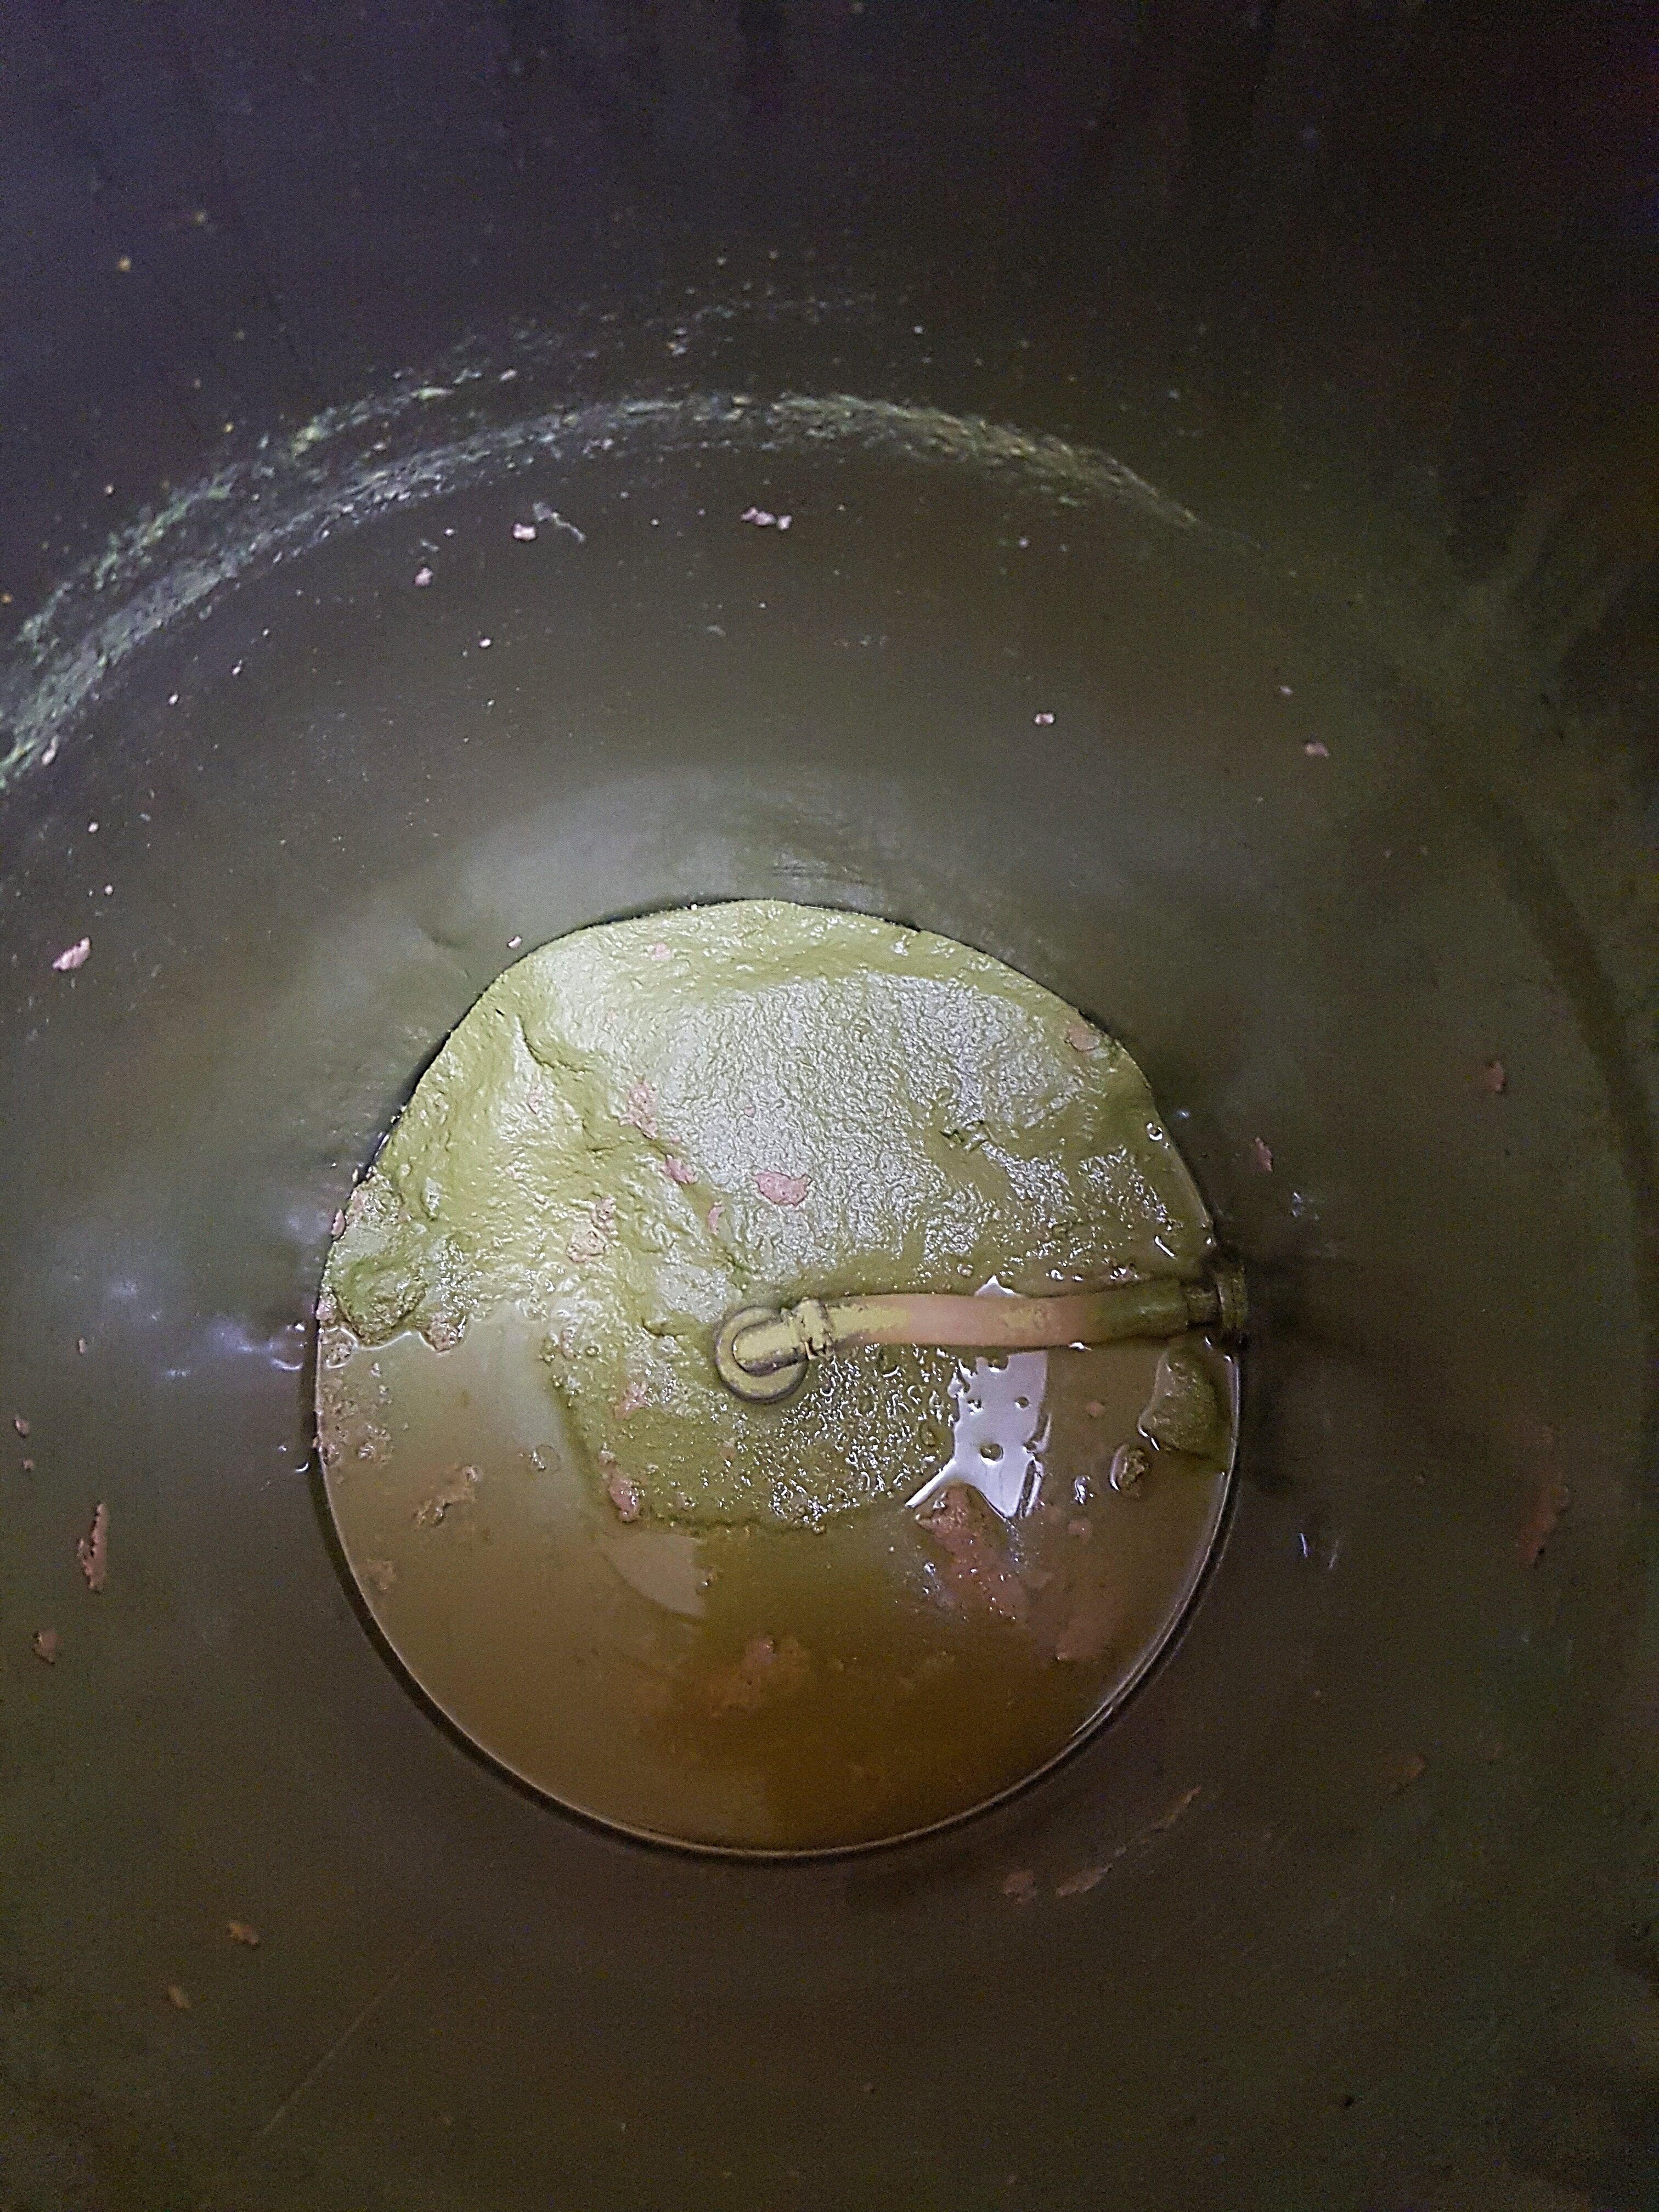
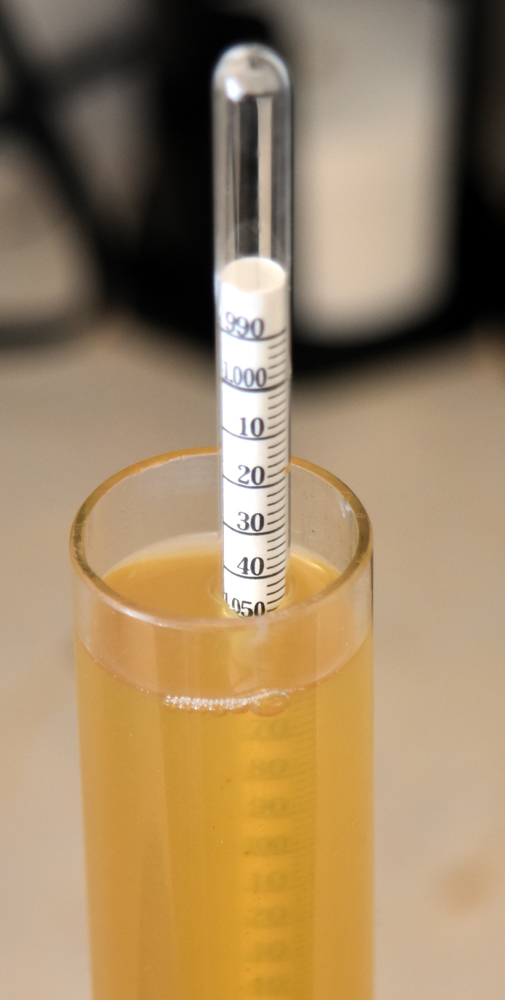
I took a gravity reading of the wort straight from the chiller.
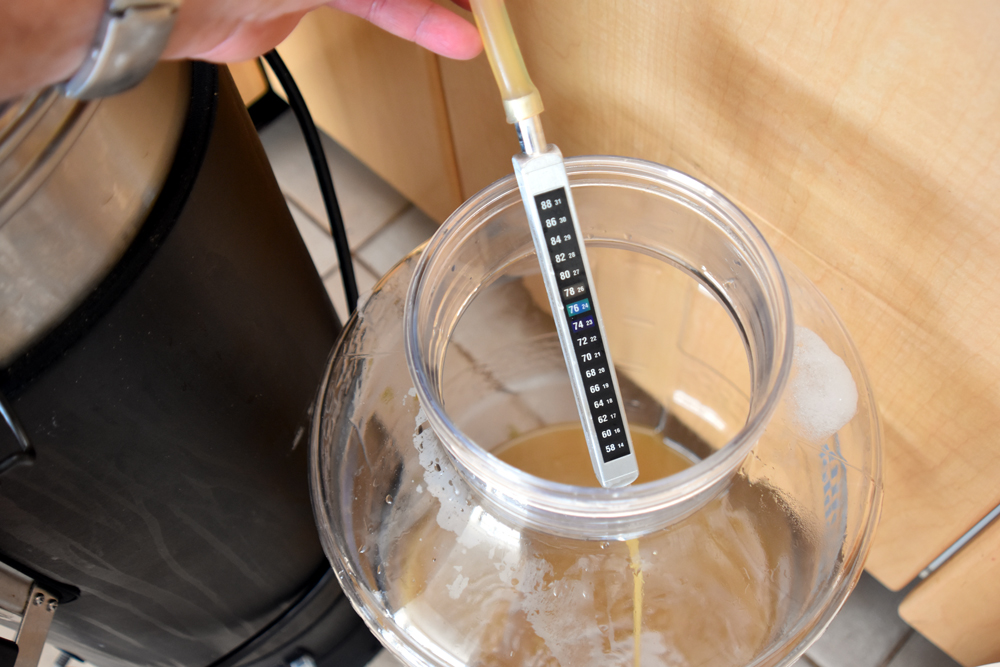
I split it into two fermenters, yielding a little under three gallons each, and then topped up with treated water to 5.5 gallons. I treat it by adding metabisulphite powder to plain old tapwater, to bind out any chlorine that my municipality may have added. I have brilliant water–some of the best in the world, and it doesn’t need another thing. After it was topped up I noticed how much protein break I got. Good stuff!
When it was divvied up I took it to my fermentation chamber, aka the second bathroom. I forgot to take a picture of the SG reading of the watered back batches, but it was 1.028
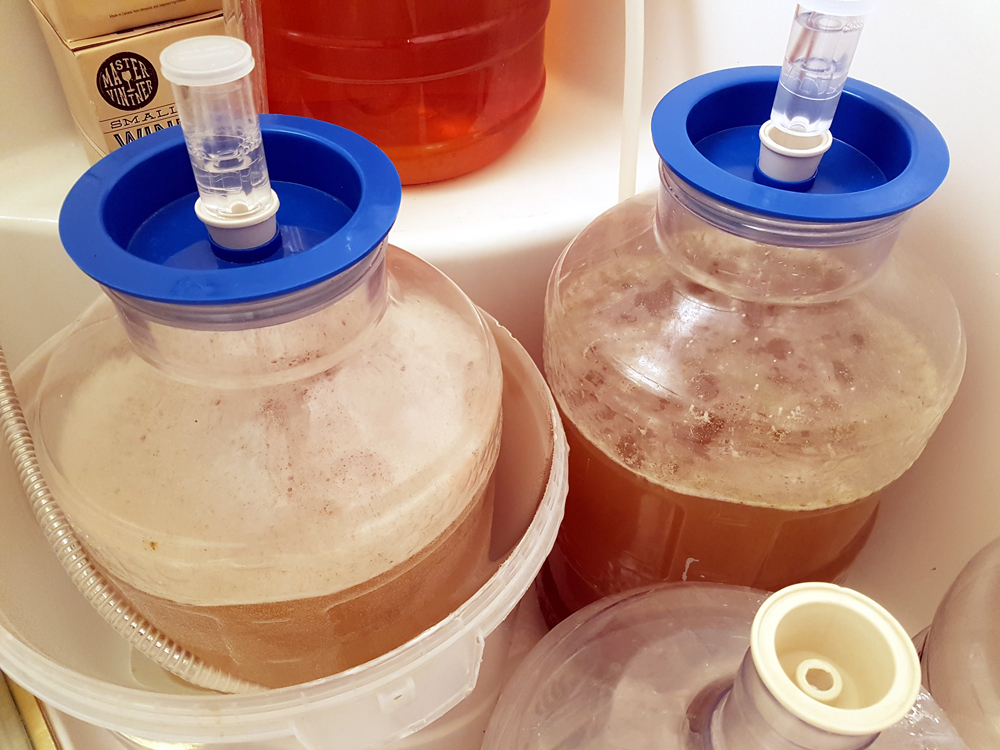
One of the beers I hit with US-05, and the other I chilled with my groundwater again, by virtue of letting the shower hose dribble into a bucket containing the fermenter run very slowly, getting it down to 62 F overnight, after which I pitched it with Safeale S-189.
Fermentation was vigorous in both, and completed after ten days.
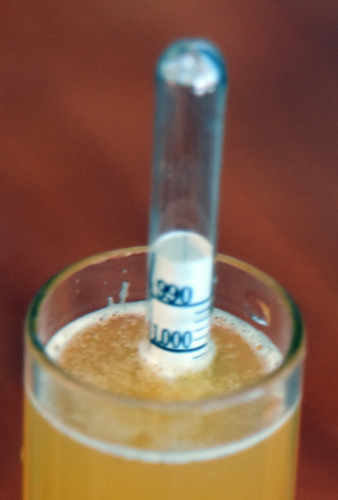
I let the beers settle and racked them to kegs. I stoppped to take an SG reading and it was corrected to 1.004 This makes a start-finish difference of 18 points. Multiply that by the ABV conversion number and you get 2.36, just under 2.5% ABV, good enough for my purposes.
After they had both chilled to 38F I burst carbonated them and let them carb under pressure for a few days, then tasted them, and shared with some friends. How was it?

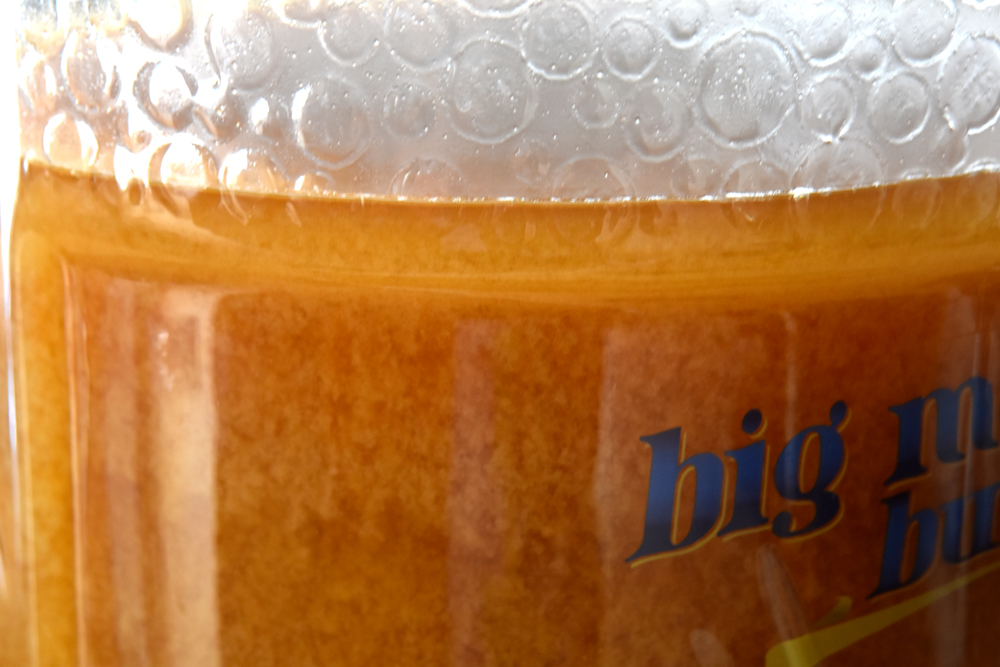
The lager version is better than the US05, but only subtly so: both beers are incredibly light, have just enough hops to balance the grain character and the crystal malt fights the carbonic acid with great precision.
I drank most of a keg in two weeks, pretty much a record for me. It’s like fabulous Gatorade, refreshing and deliciously beery, and yet the alcohol is so low I can have a pint with my lunch and continue working.
I’ve always disdained macrobrew lagers. They have all kinds of off flavours and aromas and don’t satisfy me in any way. This is different: it’s beer-flavoured beer, and hits the spot without overwhelming. I dare say it’d be easy to screw up, because the style is so light that it would show flaws instantly. But when it works, it’s really great beer. And that is the beauty of homebrewing: I can do whatever I want
Next up, I’m going to make a Belgian Kinderbier, a dark ale at 2% ABV that should have enough roast and caramel to make it richer and more interesting, while still being suitable for lunching.
If you’re looking for the best beer delivery Pimlico London has to offer, check out Booze-Up. A great 24/7 alcohol delivery company that can bring your any alcoholic beverage you want anytime, anyday!
Hey, if you’re in Vanbrewers and were at the June meeting you may have tried an early version of this recipe without the 10L crystal and with different yeast. That stuff was okay, but this is the bomb, I swear. There won’t be any of this to share at future meetings though, until I work out a brewing schedule that can compensate for me drinking a whole keg every two weeks.
So what is that fine difference between OCD and “Attention Surplus Disorder?”
OCD is a real thing. I’m just a nerd who likes to geek out over stuff.